Configuring The Bat! Email Client
Updated Thursday, October 22, 2020
Assumptions
In this short guide, we make a few assumptions:
- Your domain is configured correctly and active in the Migadu administration panel.
- Your mailbox is active and it may be accessed via our webmail .
- You are using a recent version of The Bat! .
Add Mail Account
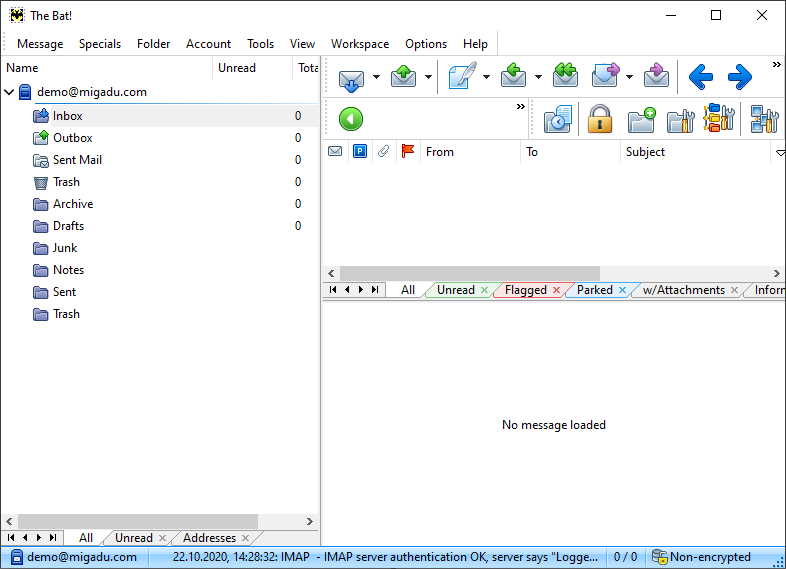
Launch the The Bat! email client on your computer.
If this is a fresh installation of The Bat!, you will be prompted right away for setting up a new account. Otherwise, you can find the option to add a new email account in the menu Account > New. This will bring the new account wizard.
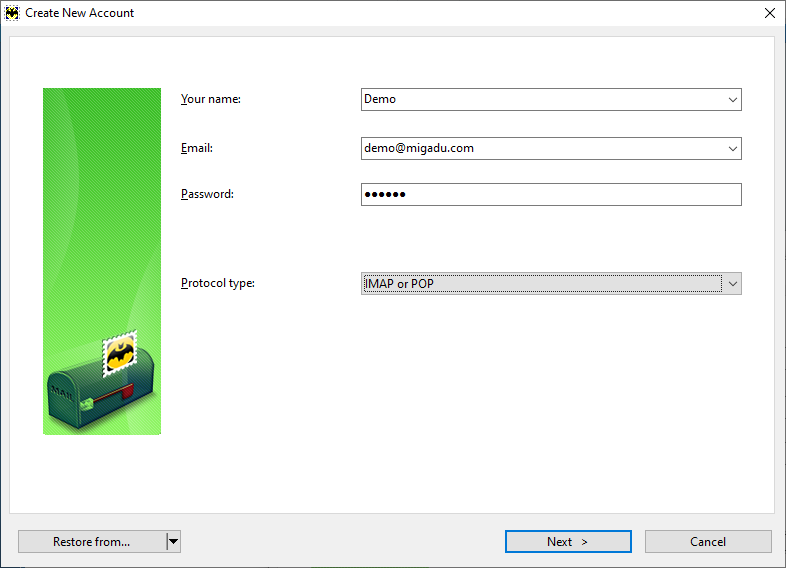
Set the email address to your Migadu mailbox email address and set the protocol type to IMAP or POP. You will be able to choose in the next step between the two. Press Next to continue.
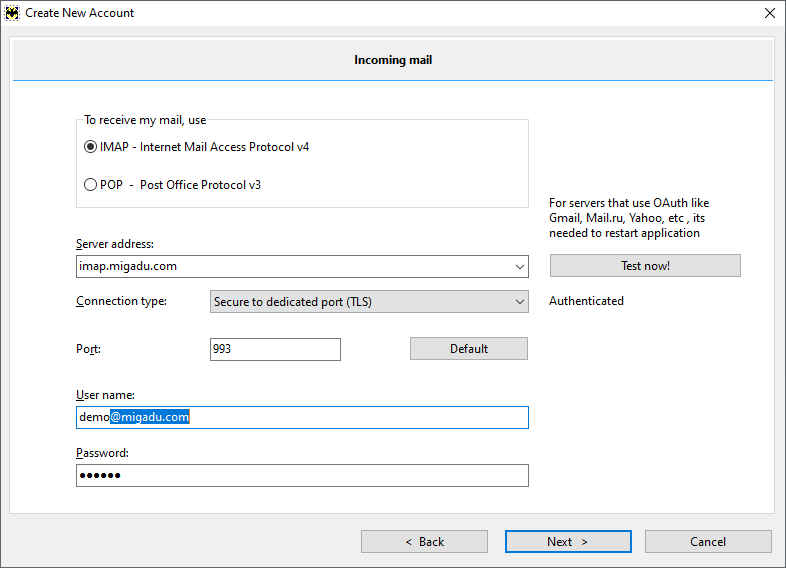
You need to make the choice now for the incoming mail protocol. We strongly recommend using IMAP which is what most of us assume for email nowadays.
The Bat! email client does a surprisingly good auto-configuration of server parameters. Nevertheless, please ensure the following settings are set:
- Server address is imap.migadu.com
- Connection type is Secure to dedicated port (TLS)
- Port is set to 993
Username may be truncated by The Bat!. Please ensure your username is your full mailbox email address.
Now you are ready to test your settings by clicking the button Test now!. If you are greeted with a message Authenticated, you are ready to go forward by clicking Next.
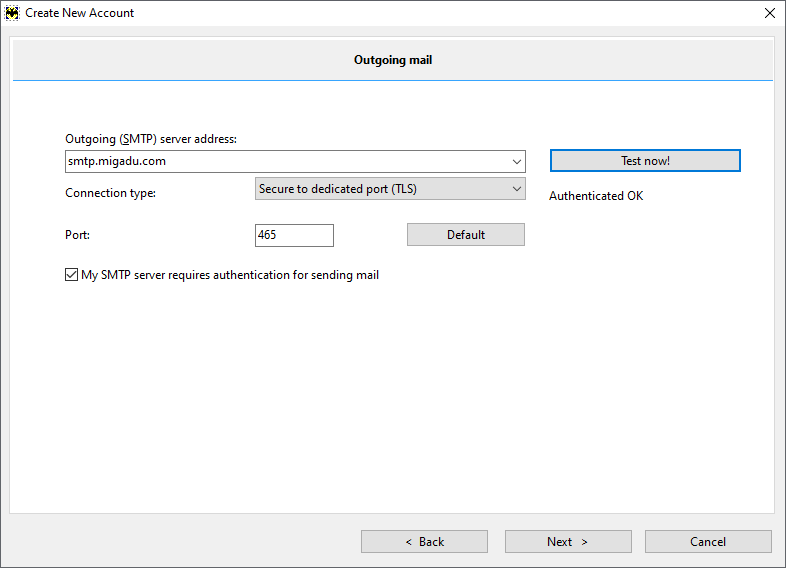
Setting up the outgoing (SMTP) server is not very different:
- Server address is smtp.migadu.com
- Connection type is Secure to dedicated port (TLS)
- Port is set to 465
Ensure the option My SMTP server requires authentication for sending mail is checked.
As before, you can test your configuration before clicking Next. On the next screen you can freely configure the details of your account.
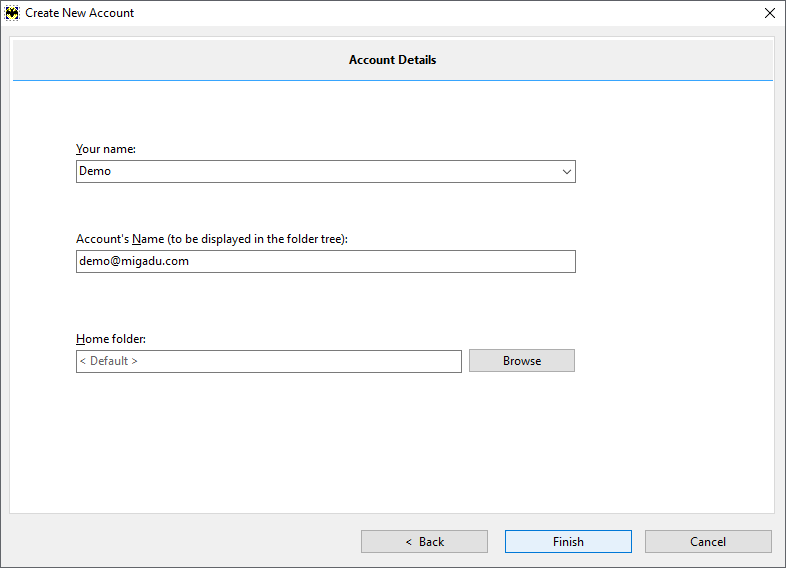
You can click Finish now. The wizard is over and you can use The Bat! as your email client now.