Configuring Outlook App for Android
Updated Thursday, October 22, 2020
Assumptions
In this short guide, we make a few assumptions:
- Your domain is configured correctly and is active in the Migadu administration panel.
- Your mailbox is active and it may be accessed via our webmail .
- You are using an Android powered device and a recent version of the Outlook App.
Add Mail Account
Launch the Outlook application on your device. If this is a fresh Outlook app installation, there are no accounts configured yet and you will be greeted with the welcome screen.
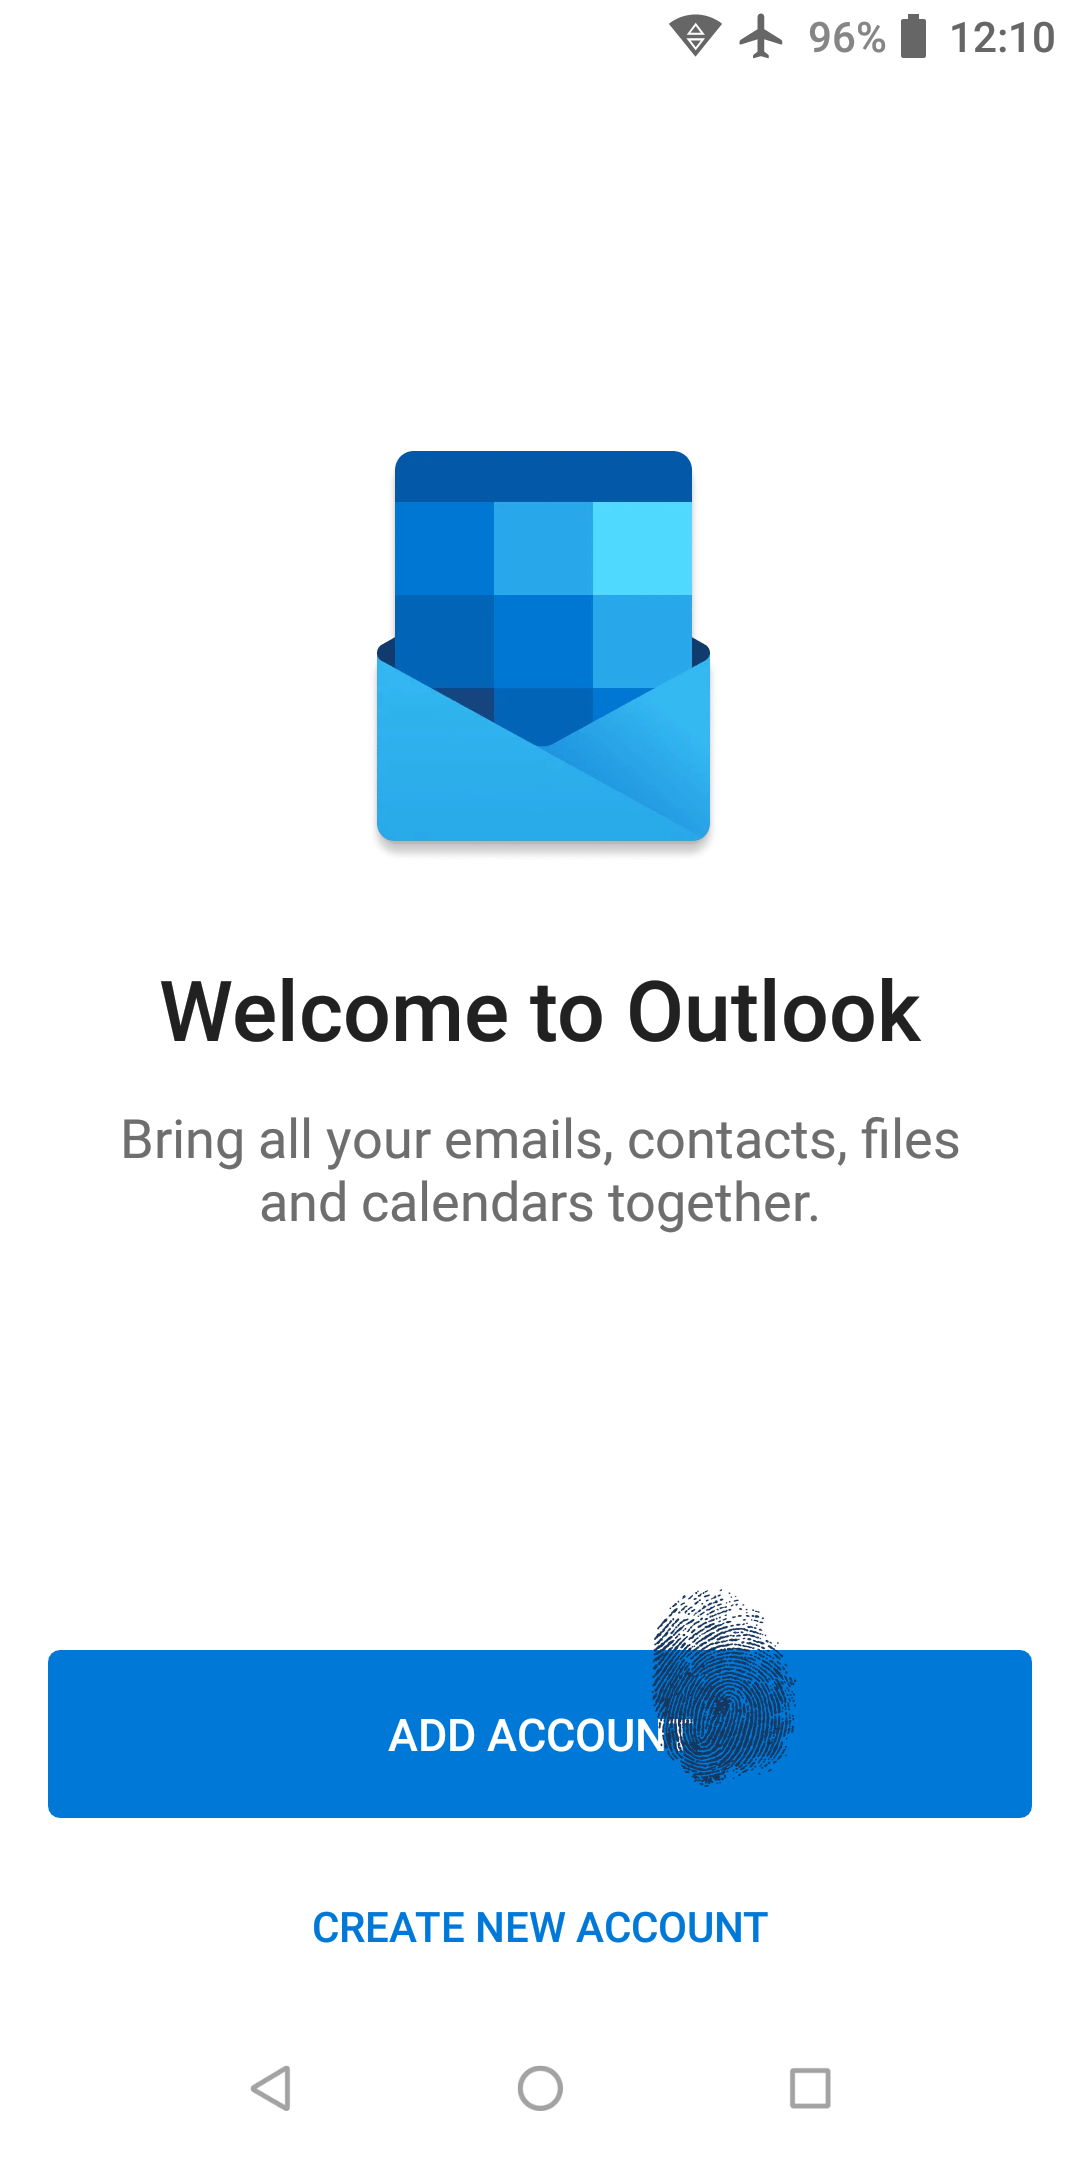
Tap ADD ACCOUNT to start the wizard.
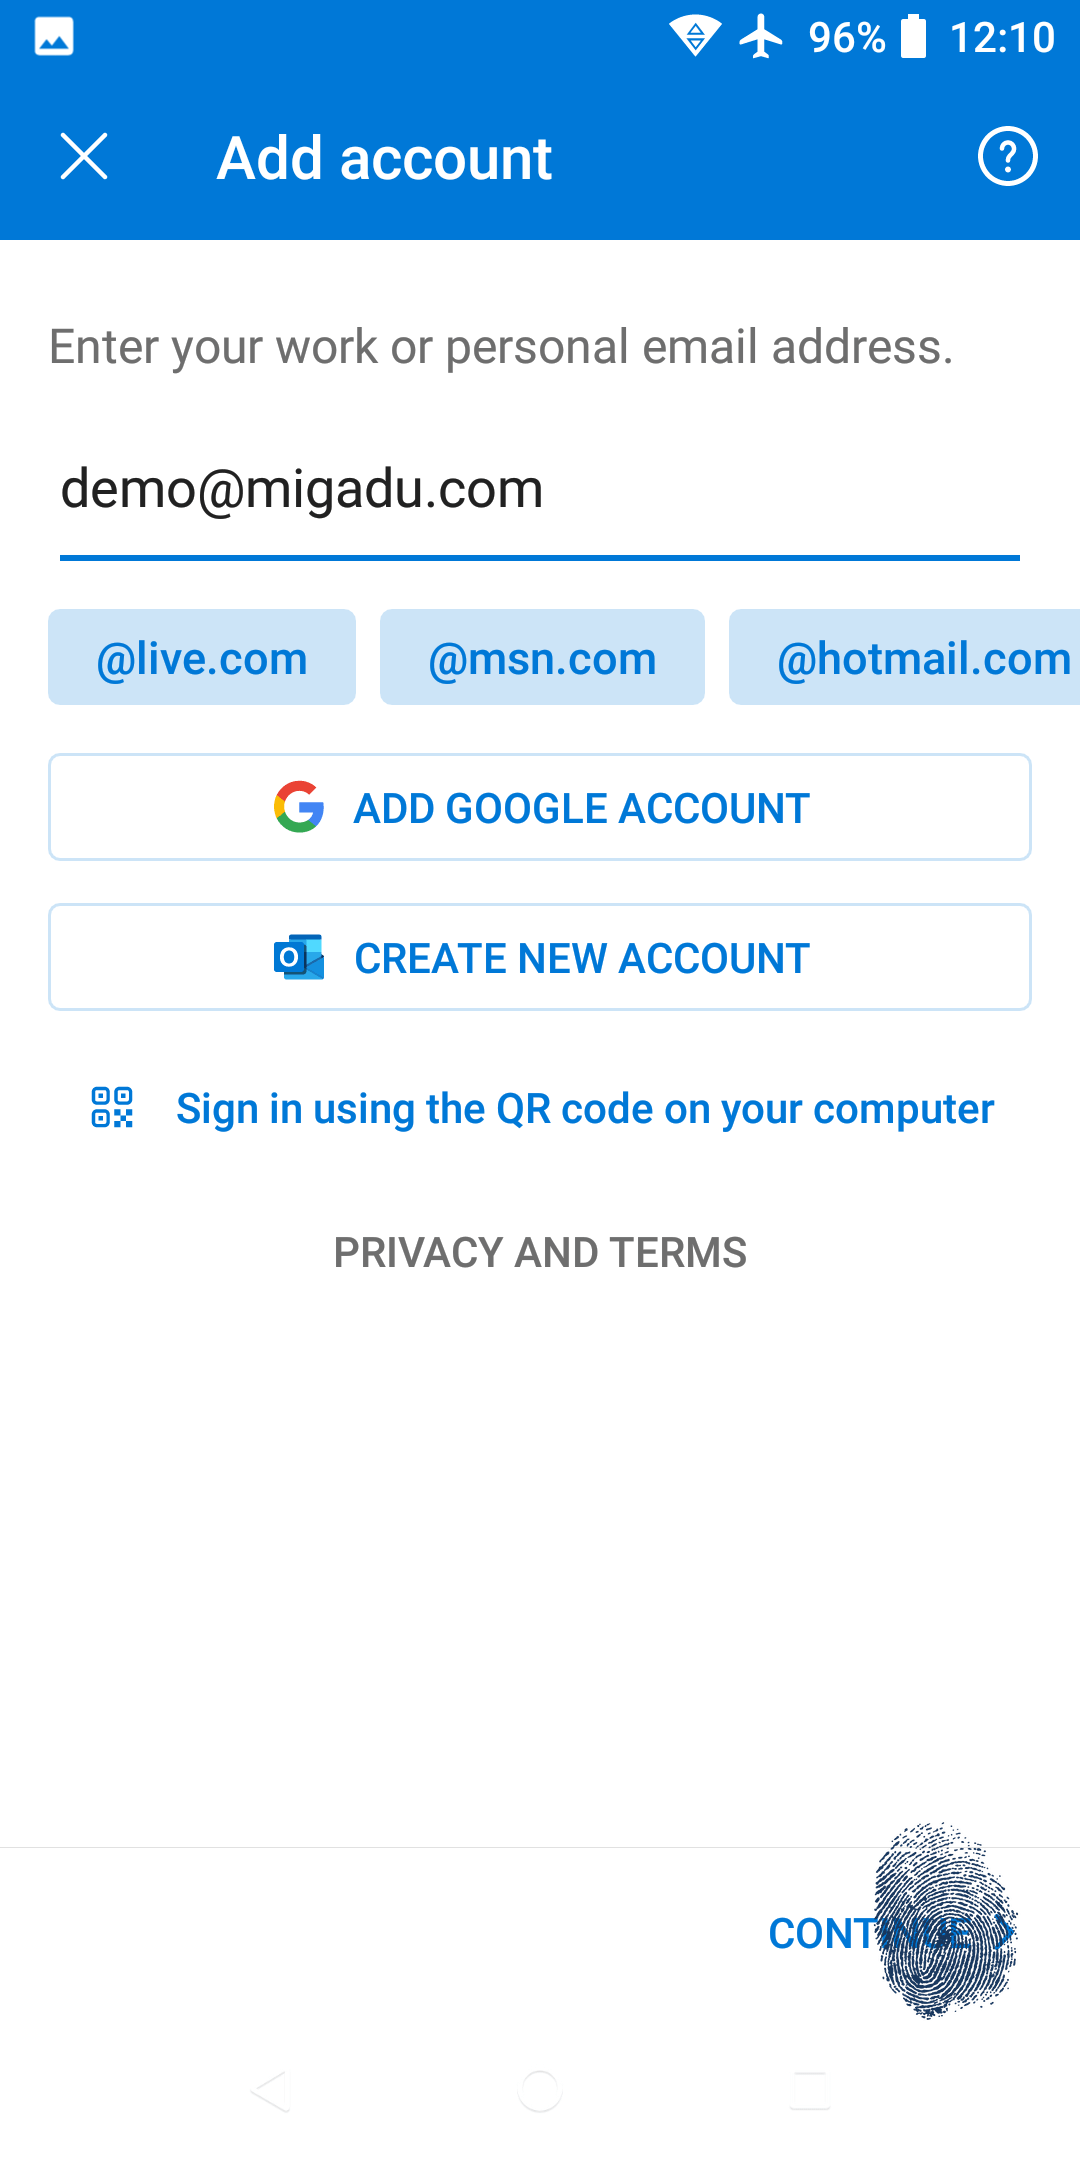
Enter the email address of your Migadu hosted mailbox and tap CONTINUE.
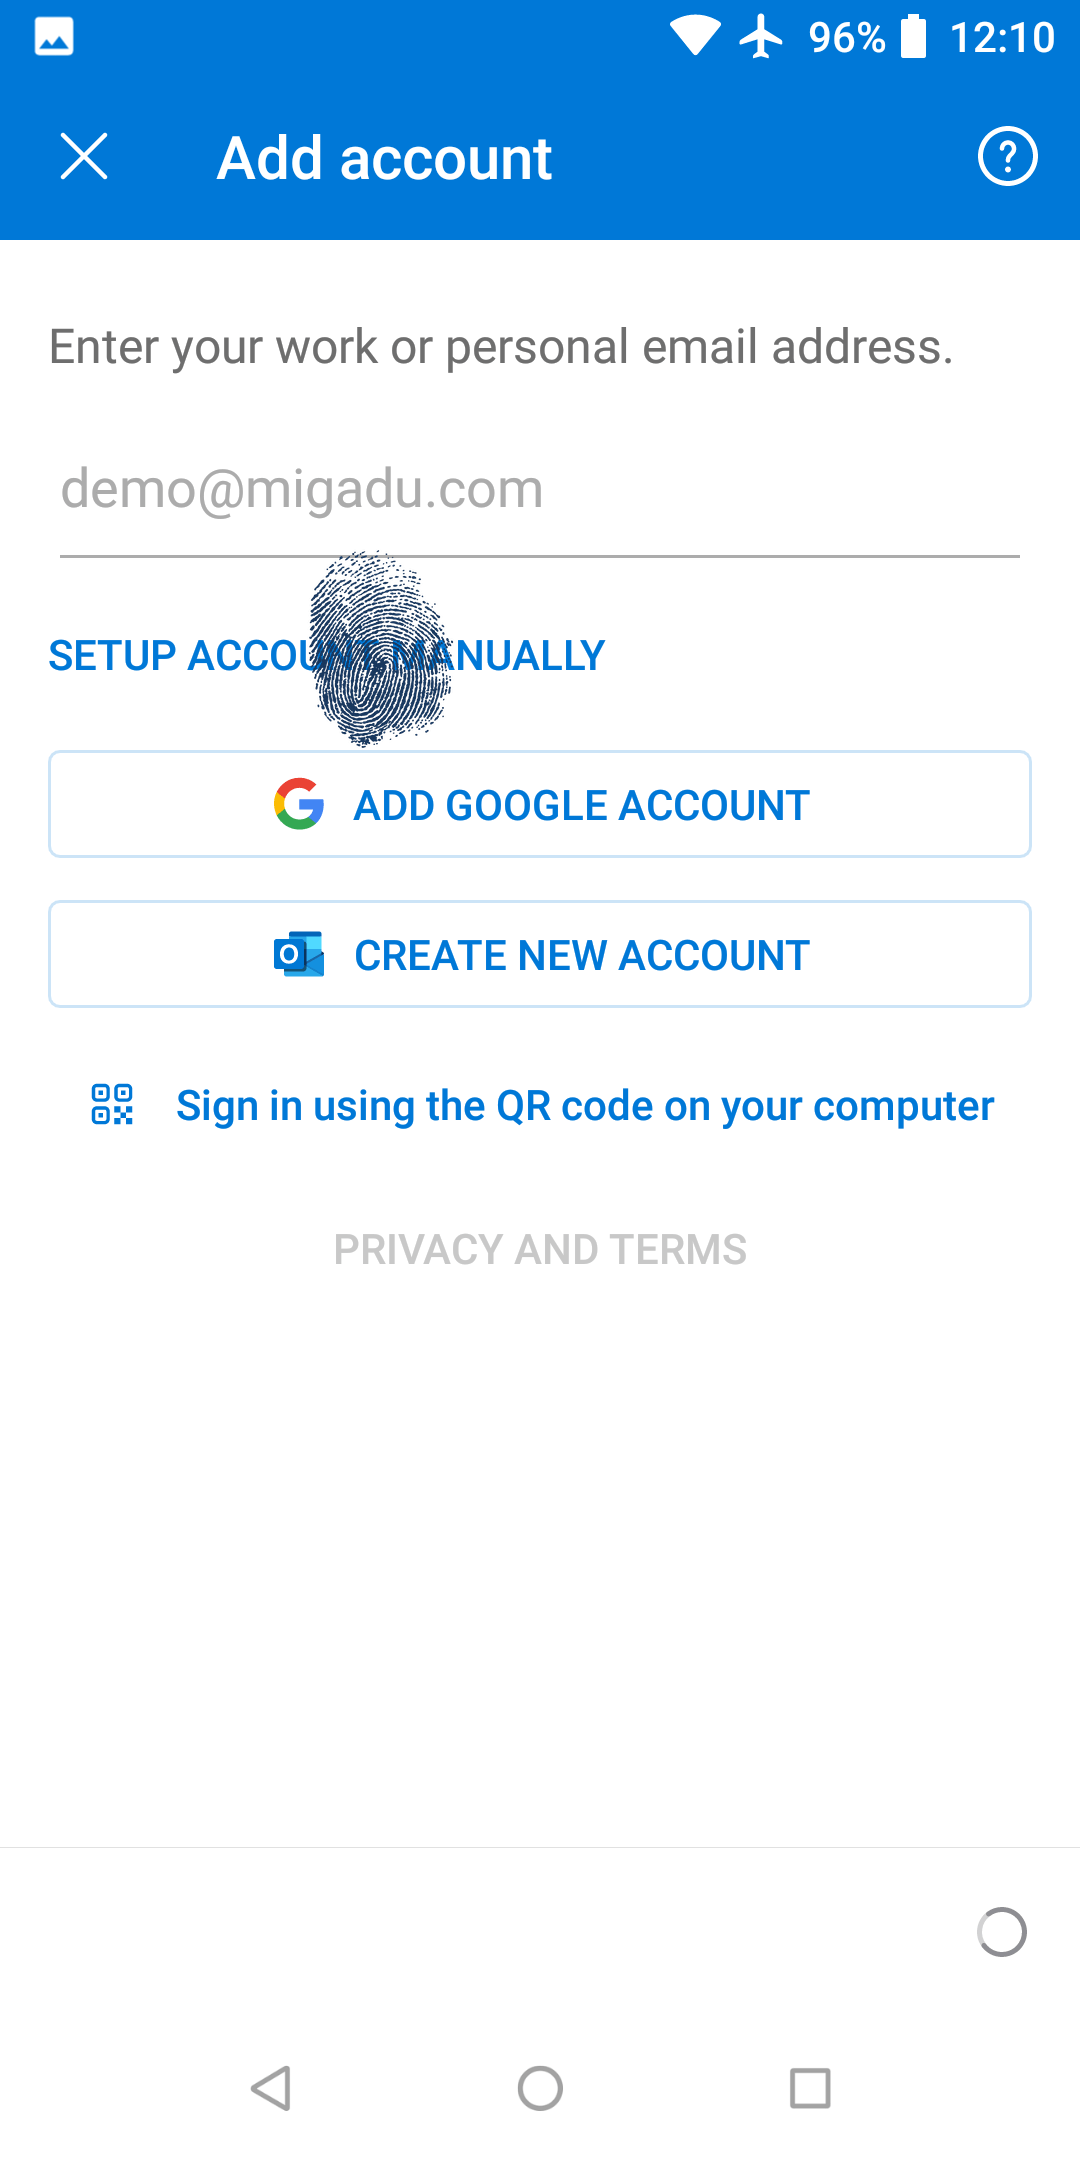
Outlook may take its time now trying to detect correct settings. While it is draining your device battery, an option SETUP ACCOUNT MANUALLY may appear under the address field. If it does, tap on it and jump to the account type screen below.
If however the manual setup option does not appear, Outlook may wrongly conclude you are setting up a Microsoft Exchange account and will take you to the Connect Exchange screen. The autodiscovery mechanisms Outlook uses are mystery even to themselves.
To be on the safe side with Outlook, always use manual setup.
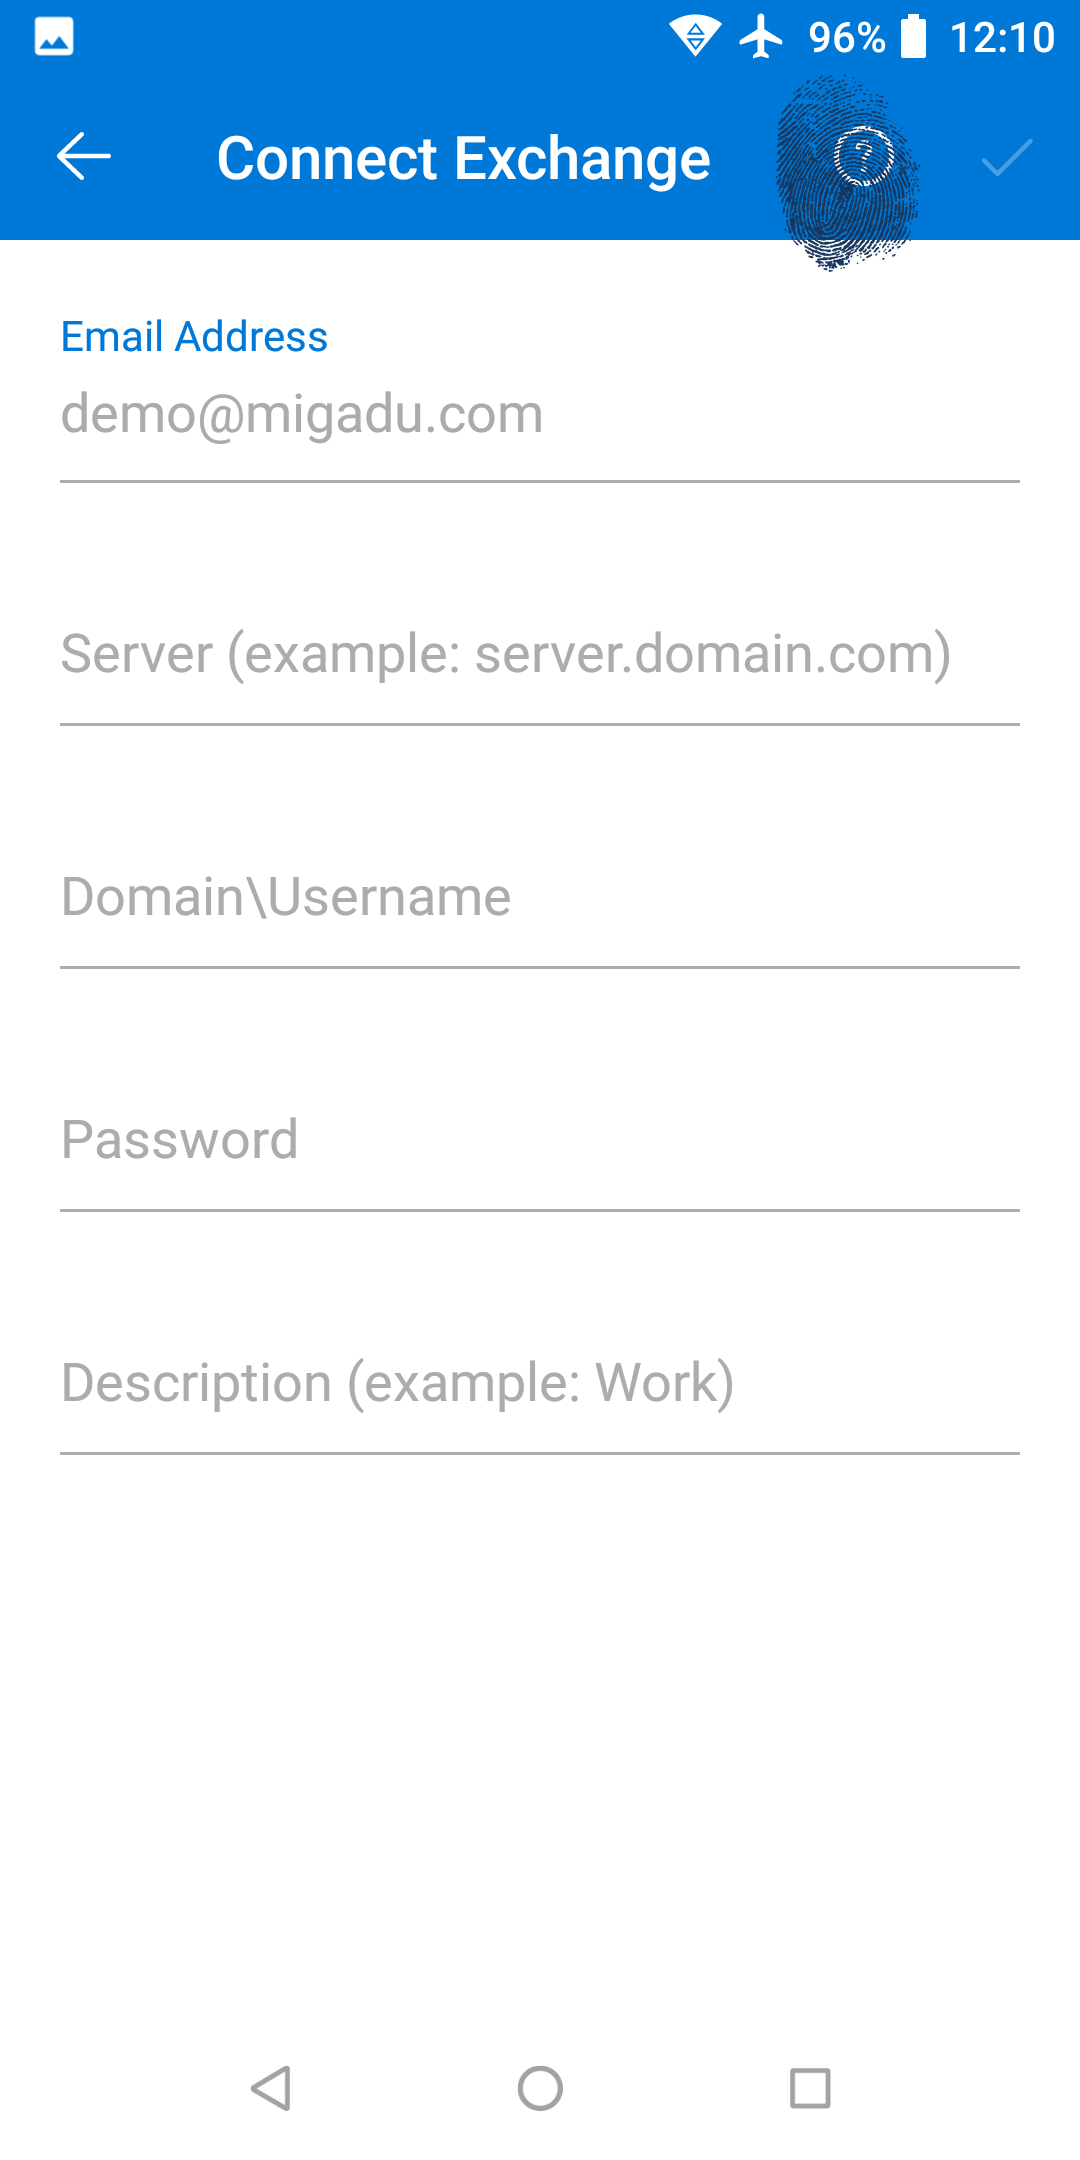
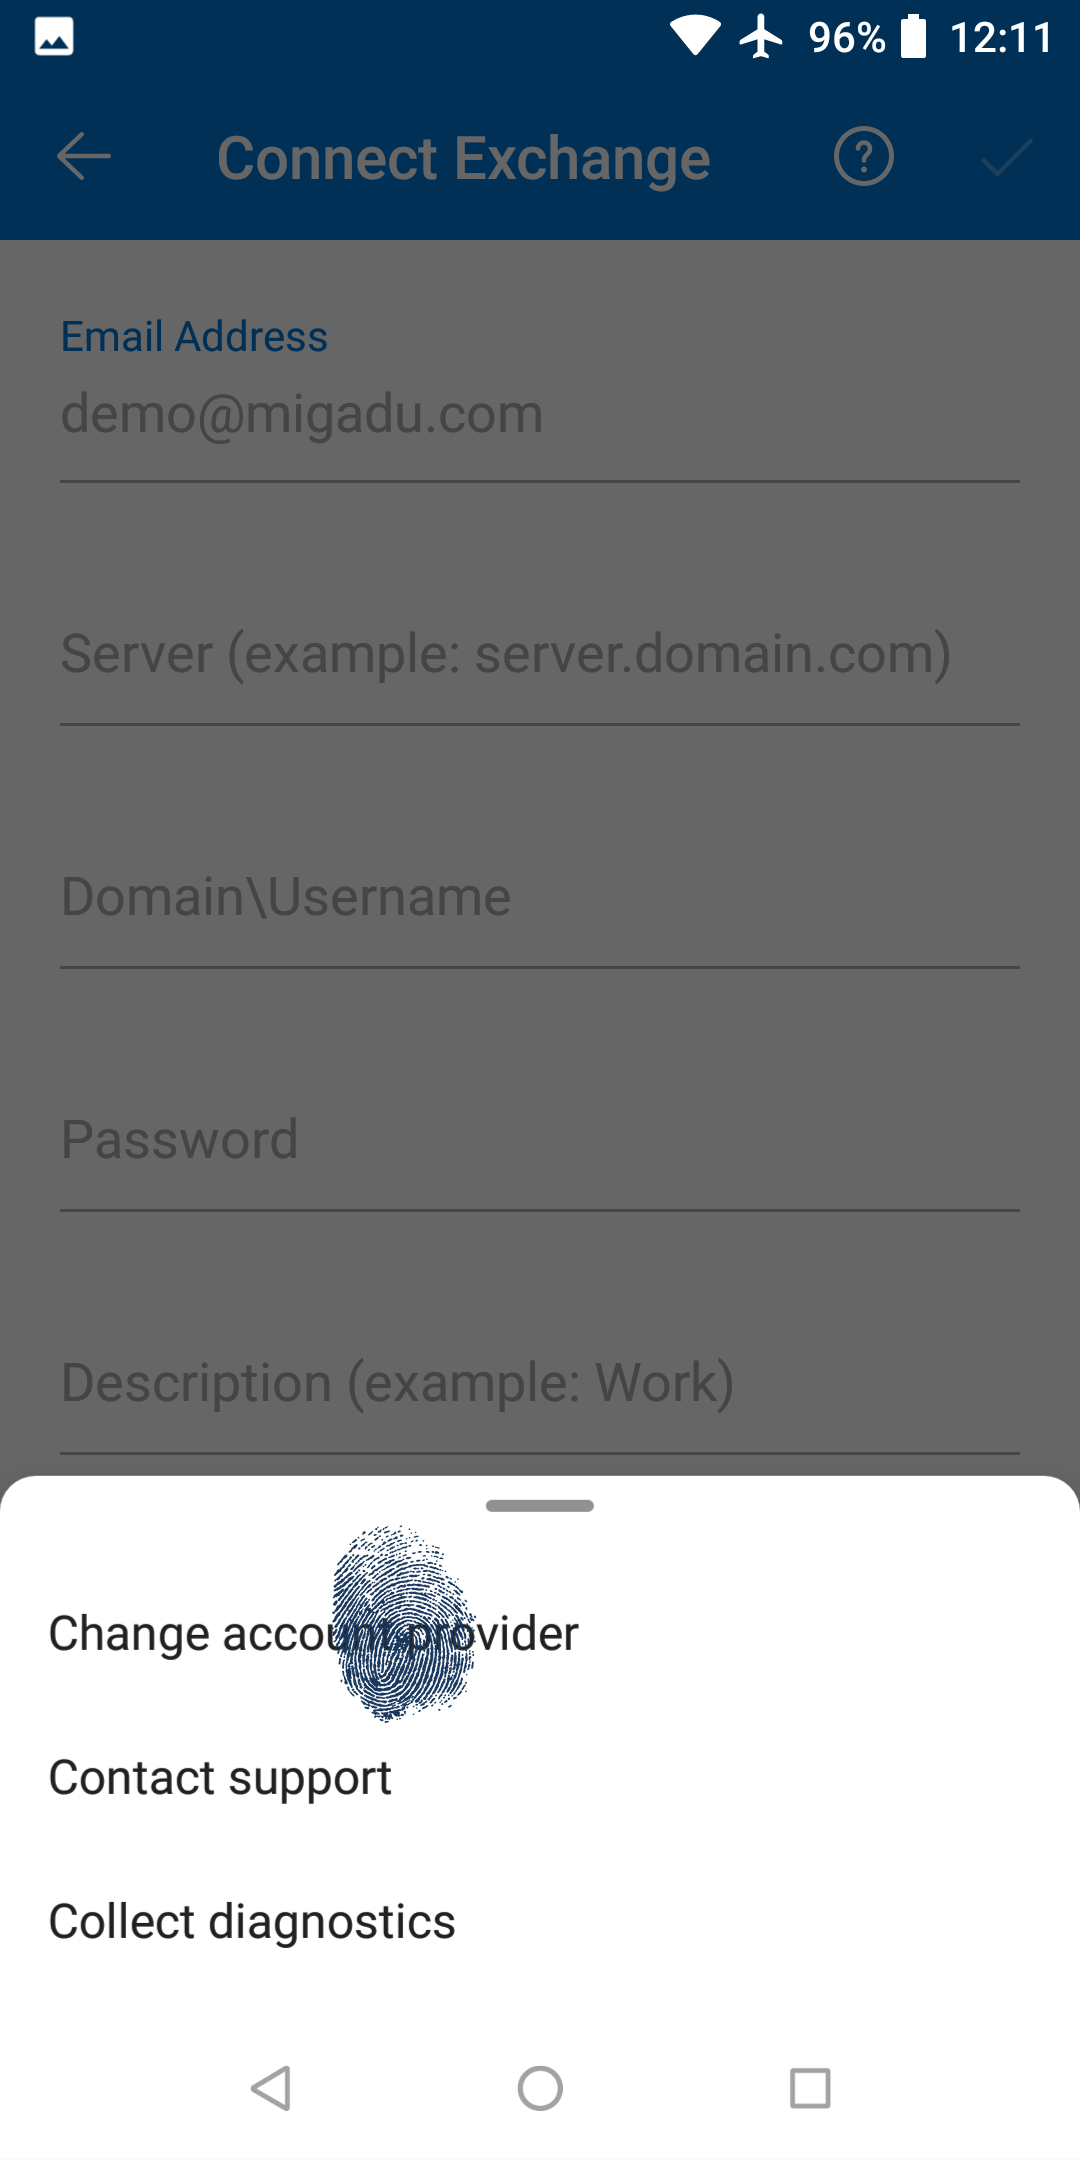
Since setting up exchange is not our goal here, let’s change the account provider. On the Connect Exchange screen, tap the question mark on the top.
If you were wondering, that is not the help button. It is the “I am confused” button. Outlook would just not work without them.
A popup menu will appear out of nowhere and offer option to Change Account Provider which is what we are interested in. Tap it.
Now we can choose the account type. Let’s ignore the Outlook inconsistencies and just go about our business, choosing IMAP from the Advanced section.
Even though Migadu supports POP3 protocol too, IMAP is what we nowadays expect from email.
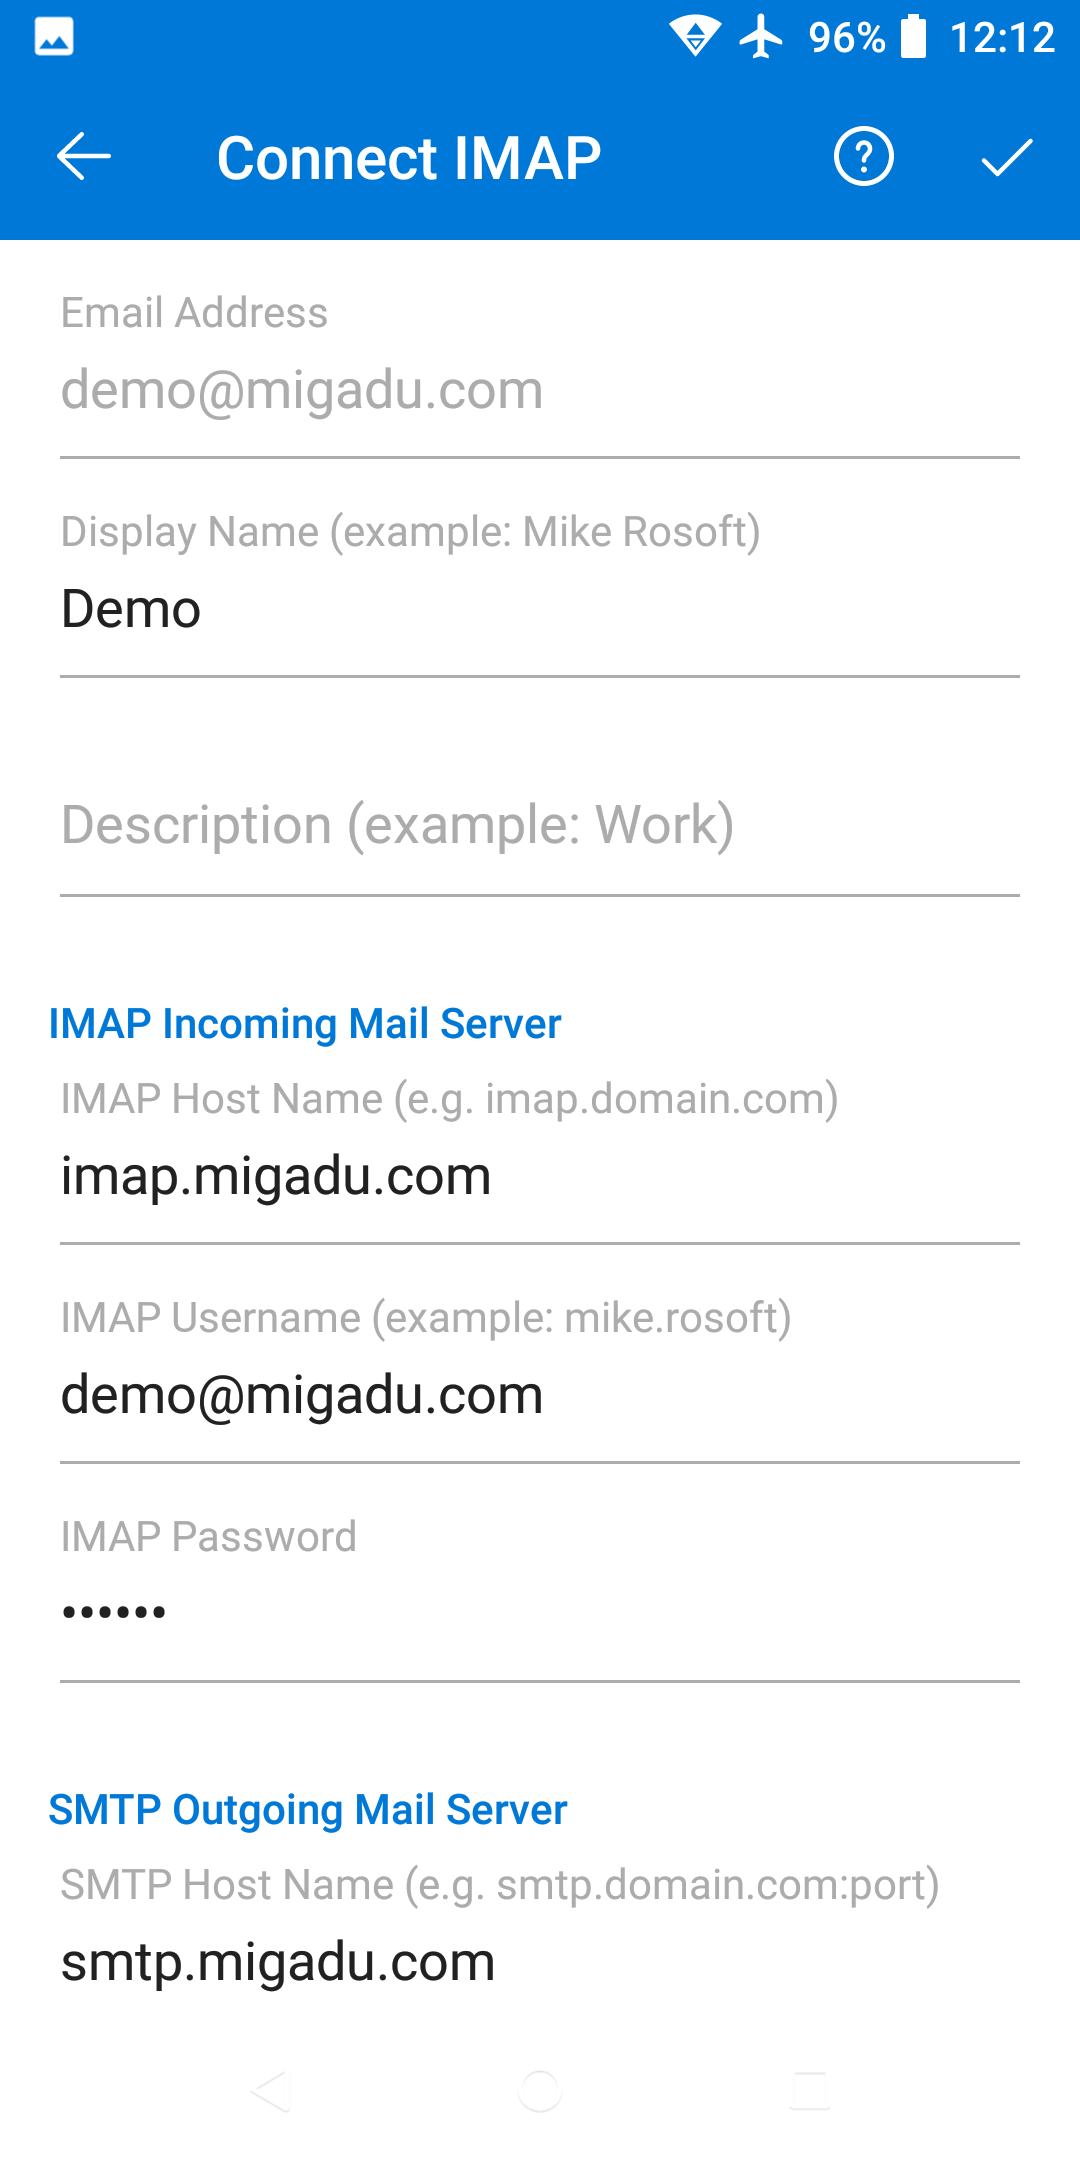
Now we can setup the IMAP and SMTP servers for the account.
If you were wondering why you are entering SMTP server details on a screen titled Connect IMAP, you are not alone.
Set your Display Name to the name you want recipients of your messages to see as From on the message.
Both IMAP Username and SMTP Username are your full mailbox email address. The password is also the same for both, being your Migadu mailbox password.
- IMAP incoming mail server is imap.migadu.com
- SMTP outgoing mail server is smtp.migadu.com
You will most likely have to scroll down to see the full outgoing settings.
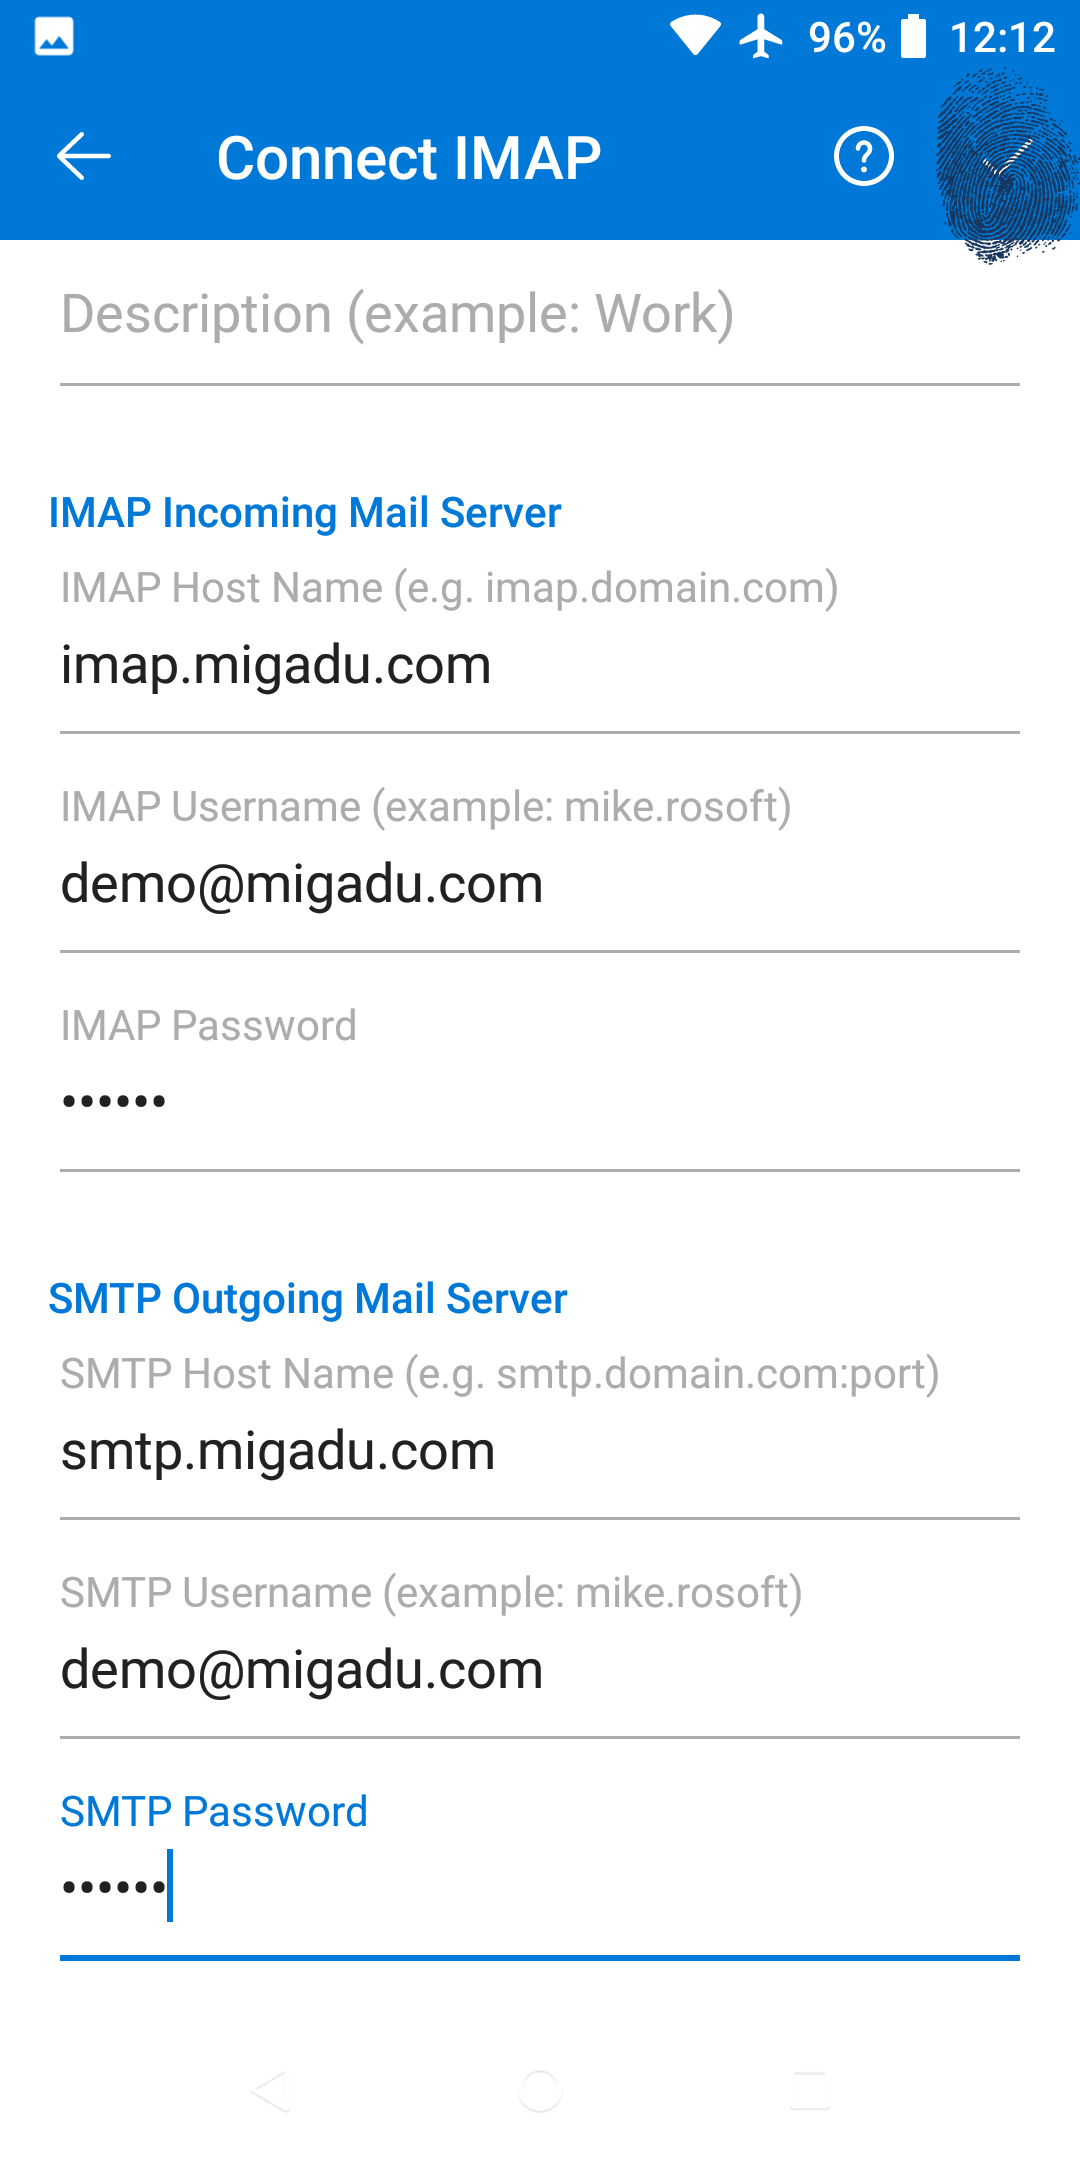
When all fields are filled, tap on the check mark on the top right. If Microsoft decides so, your settings will be accepted and you will be taken to the Add another account screen.
In case Outlook gets funny and does not connect, please check your password first. However, some versions of Outlook have issues discovering ports so you may could try adding the port after a colon as given below.
- imap.migadu.com:993
- smtp.migadu.com:465 or smtp.migadu.com:587
As all magicians know, magic tends to fail and then it requires magic to fix it. Explicit configuration is always a better choice when there are only few settings.
Someone at Microsoft believed that implies the account is correctly setup, and spared one notification.
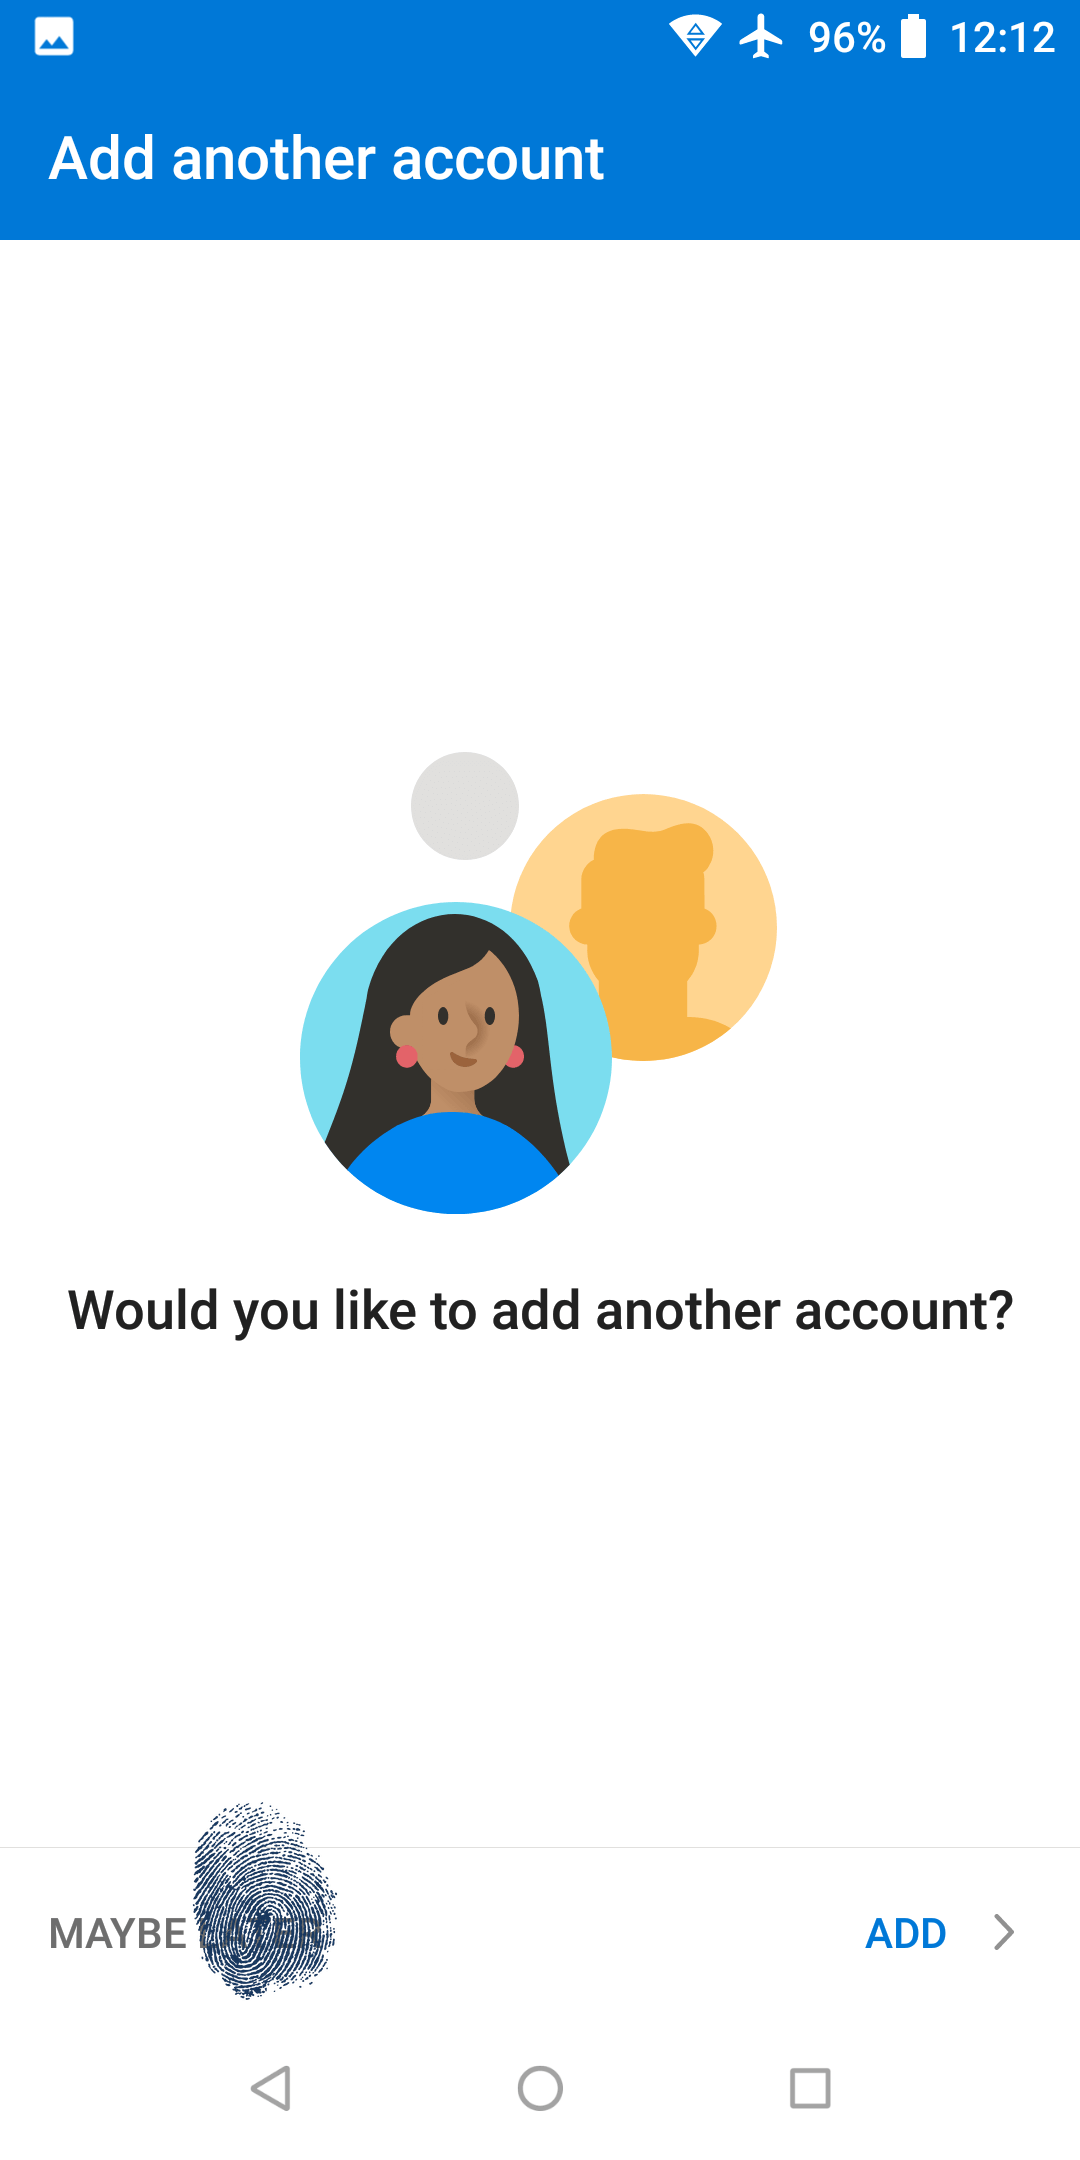
If you want to add more accounts to Outlook, please repeat the process after tapping on ADD. Otherwise, you can skip to your Inbox by tapping MAYBE LATER.
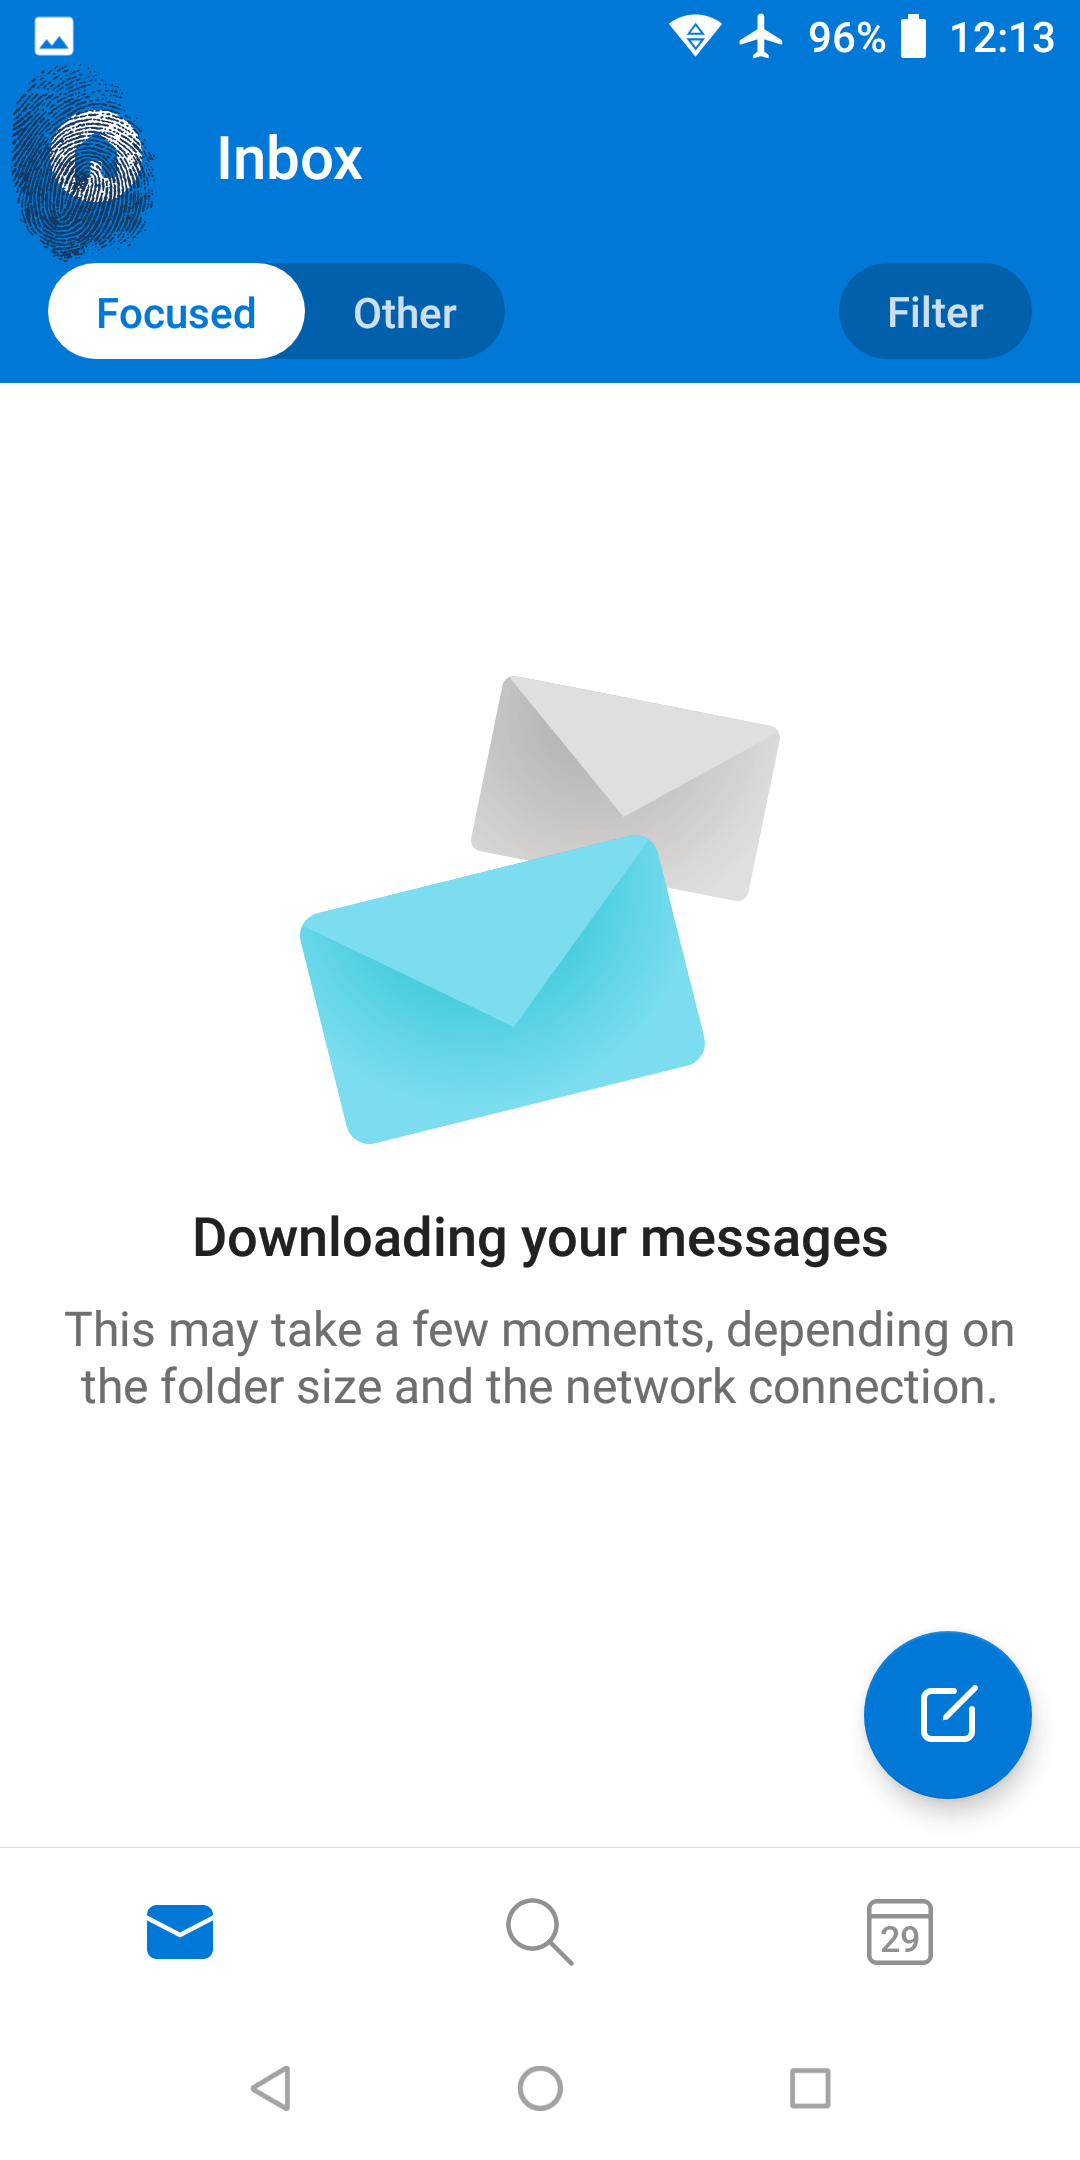
You have made it to your Inbox. This would be it, but we have noticed Outlook thinks you should tell the world that they should use Outlook for Android, so they pre-configured the default signature for you.
Let’s get that removed. Tap on the home icon in the top left which surprisingly opens up the side menu and tap on Settings.
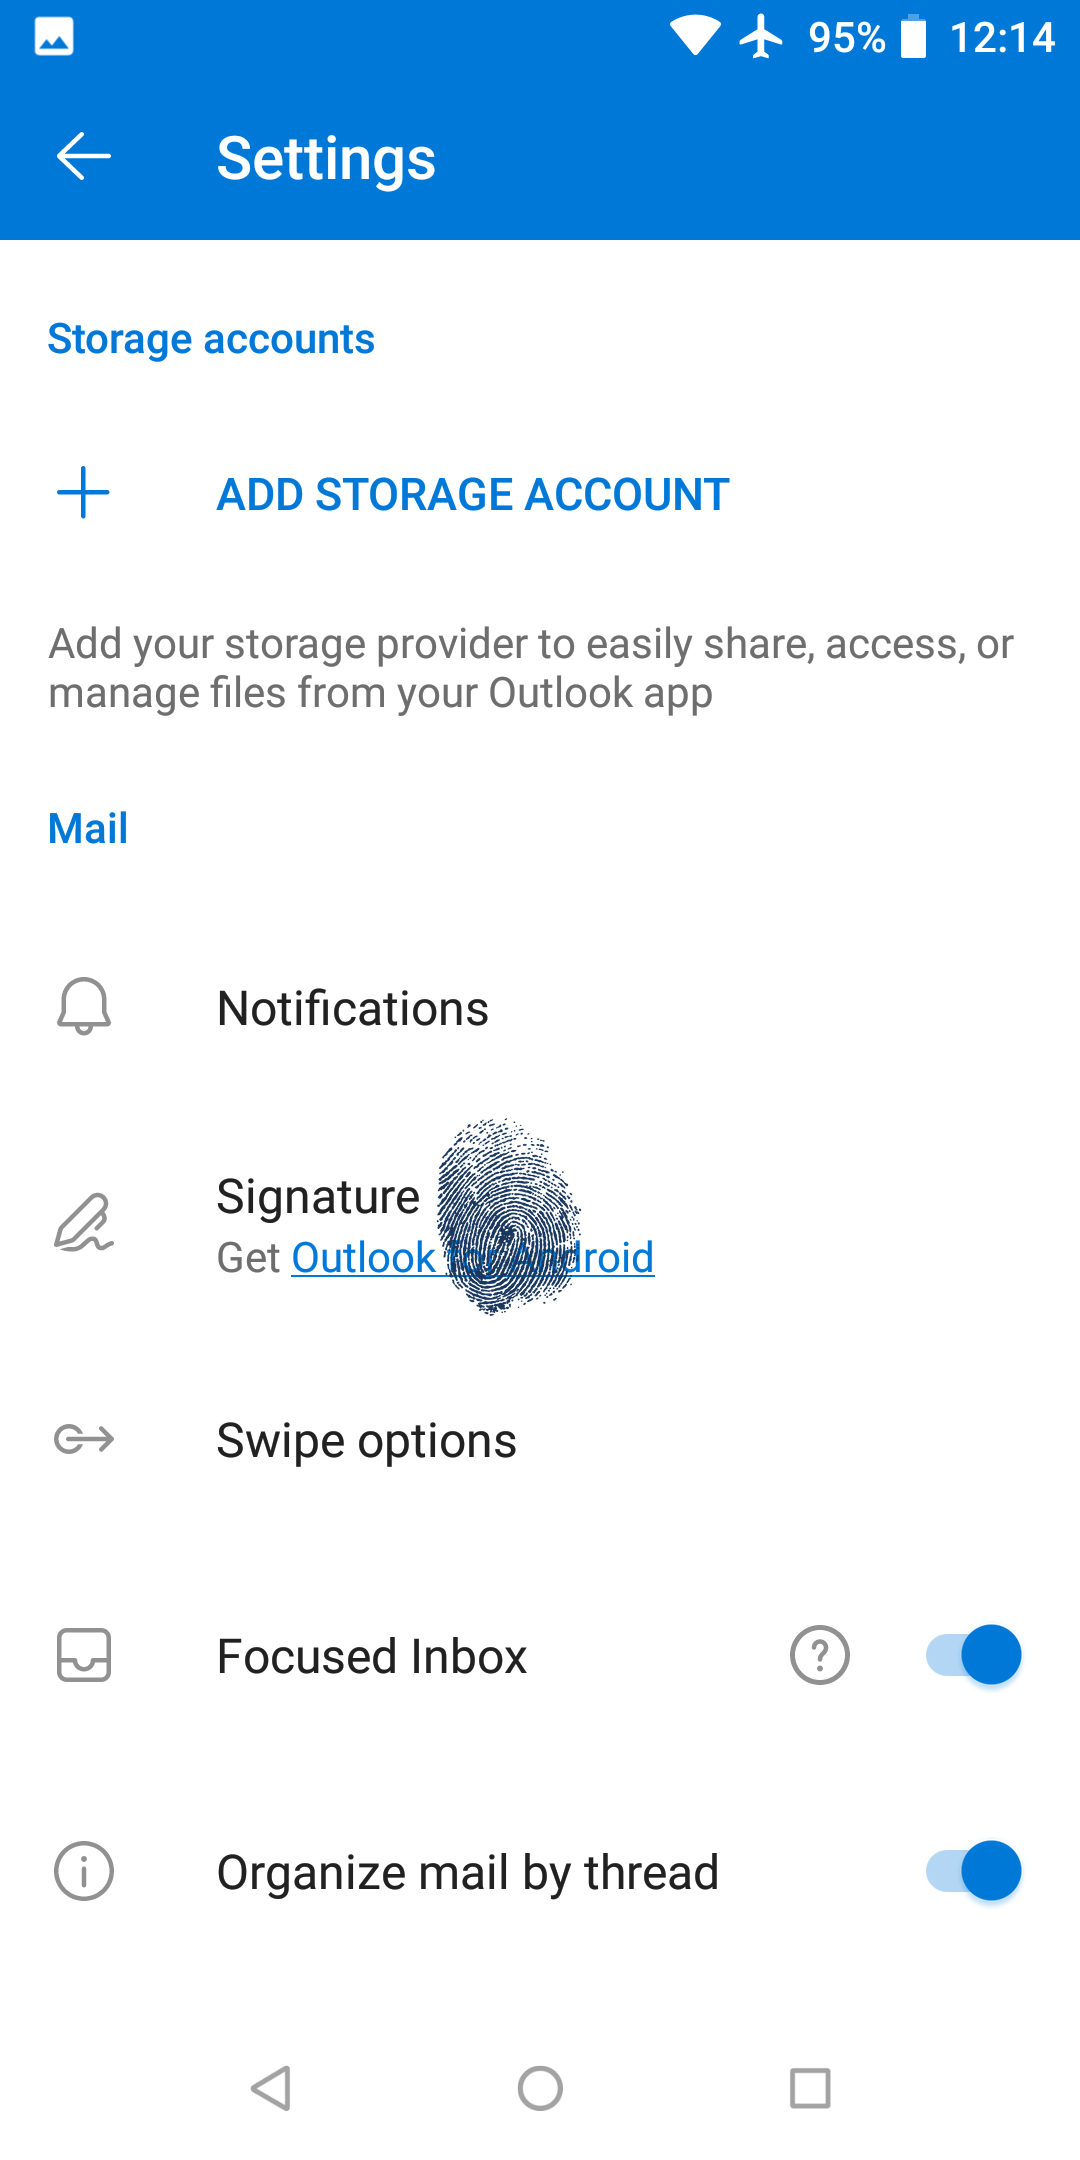
You can change the default signature by tapping the Signature option.
You are now ready to use Outlook.