Configuring Gmail App for Android
Updated Thursday, October 22, 2020
Assumptions
In this short guide, we make a few assumptions:
- Your domain is configured correctly and is active in the Migadu administration panel.
- Your mailbox is active and it may be accessed via our webmail .
- You are using an Android powered device and a recent version of the Gmail App.
Add Mail Account
Launch the Gmail application on your device. If this is a fresh Gmail app installation, there are no accounts configured yet and you will be greeted with the welcome screen.
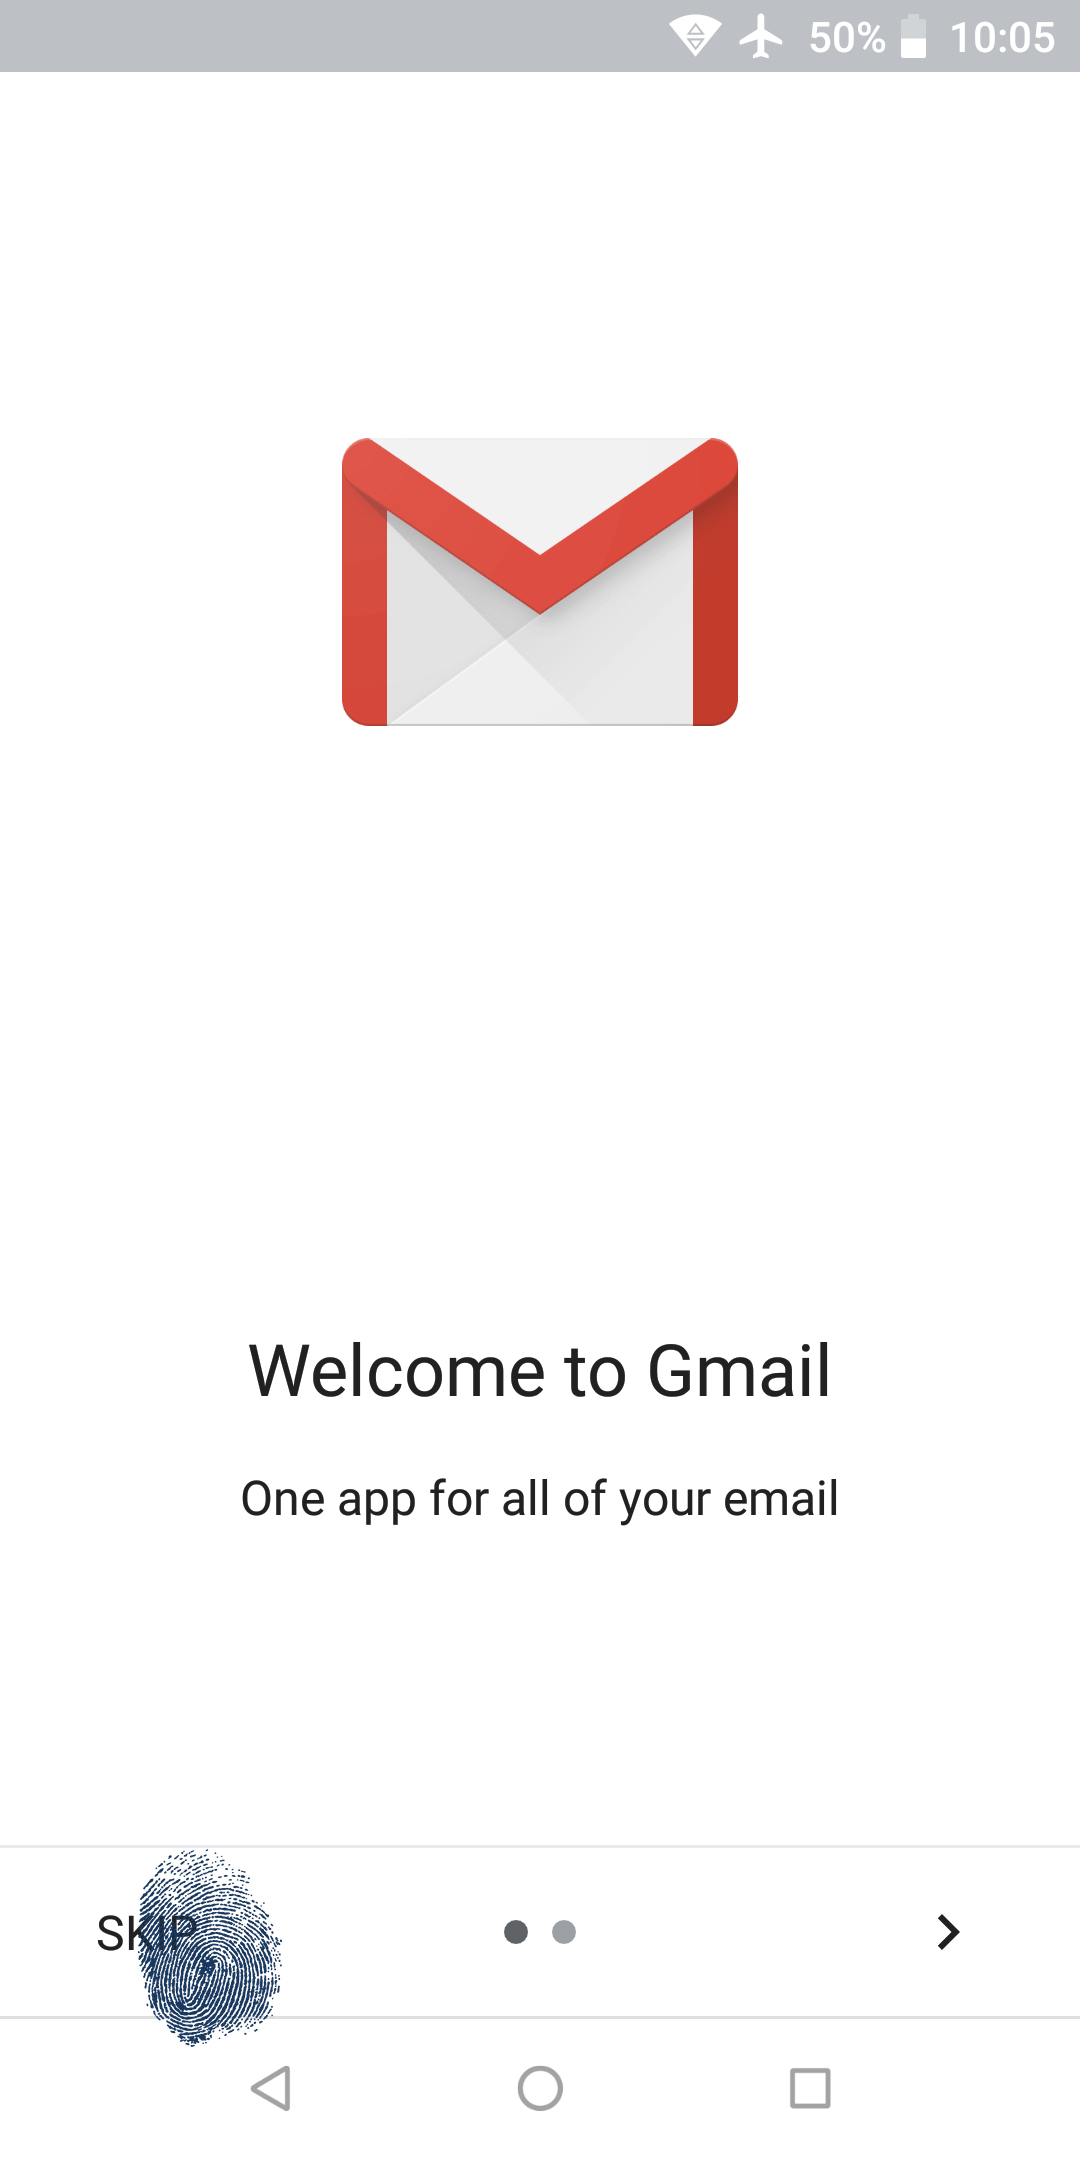
Skip to reach the accounts screen.
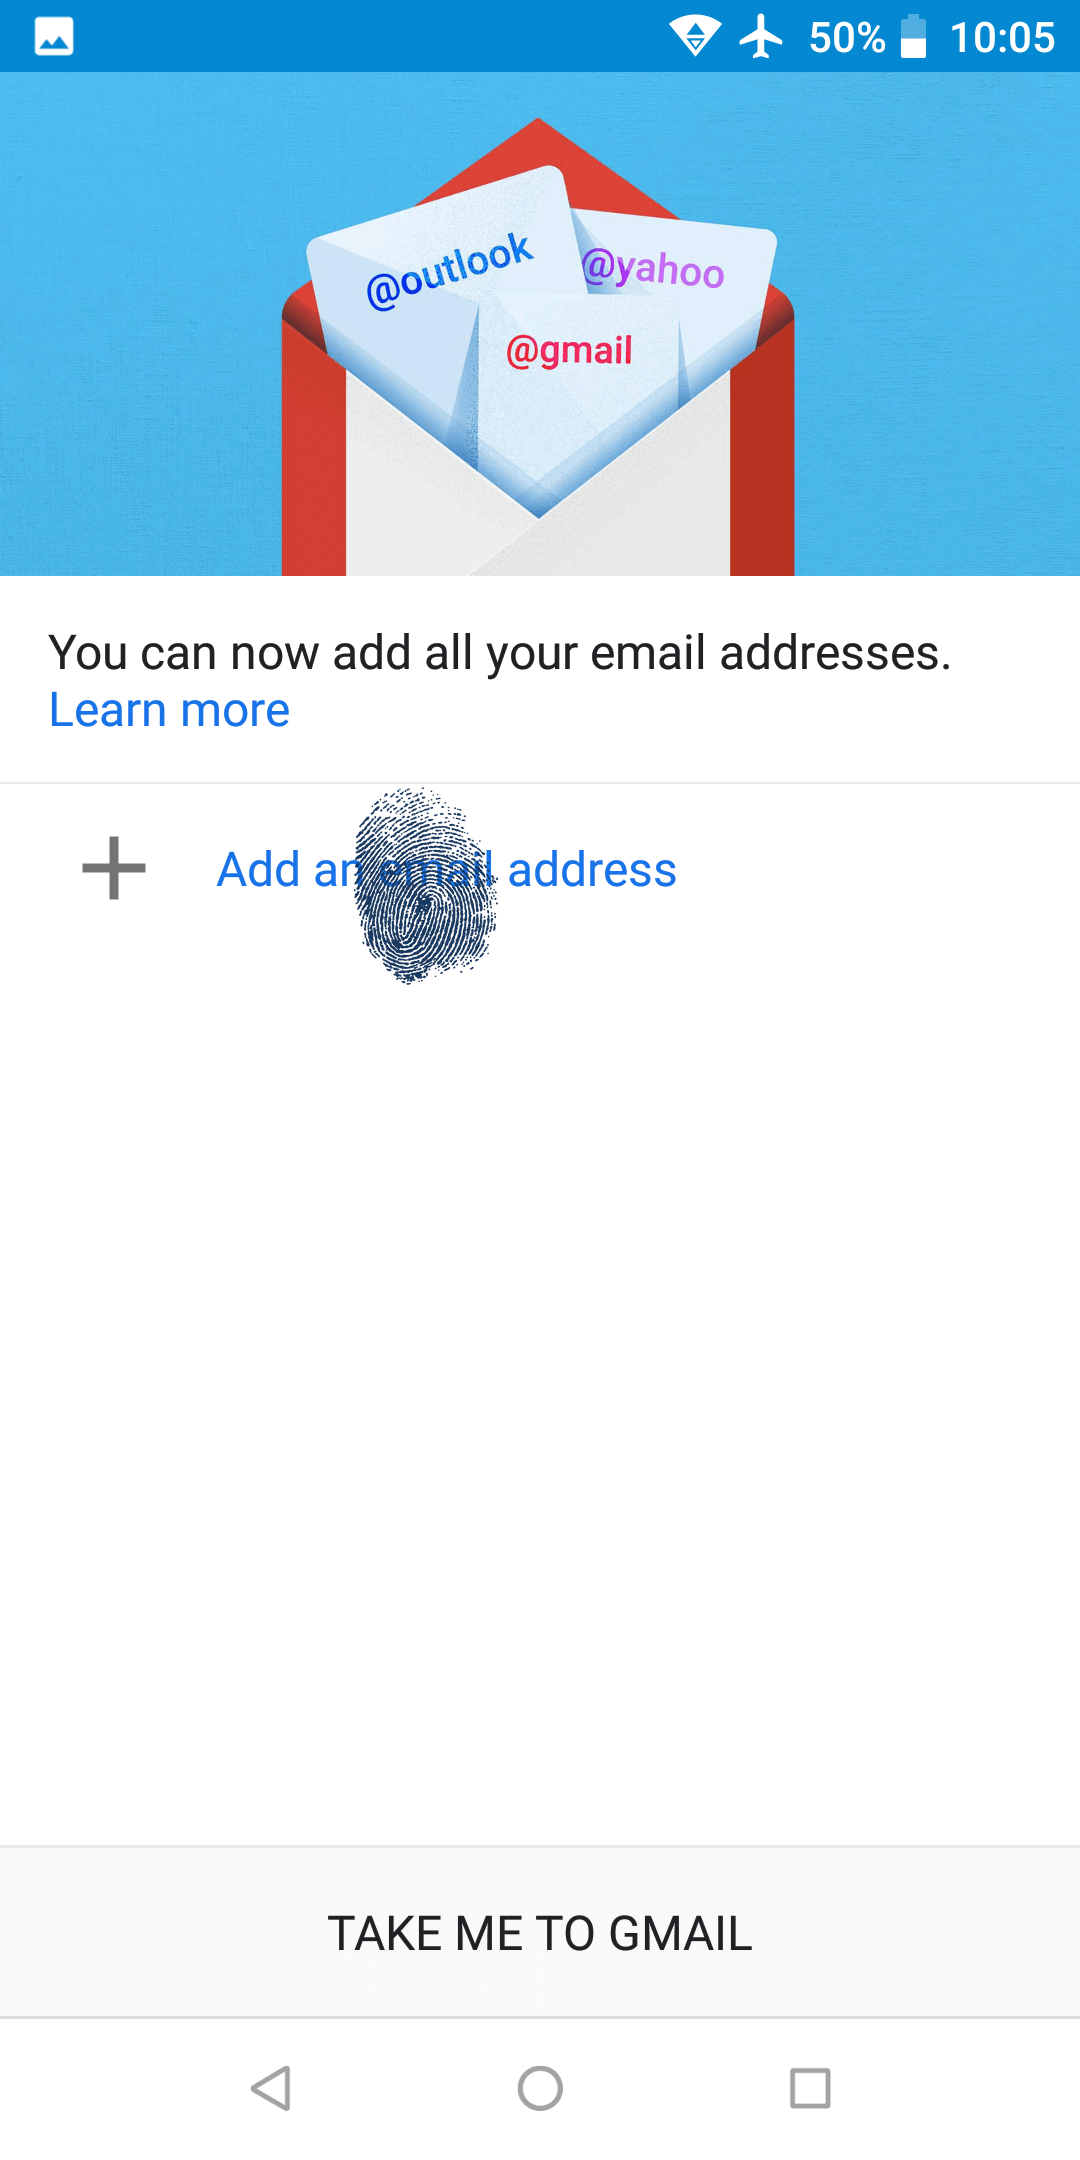
Tap + Add an email address to start the wizard.
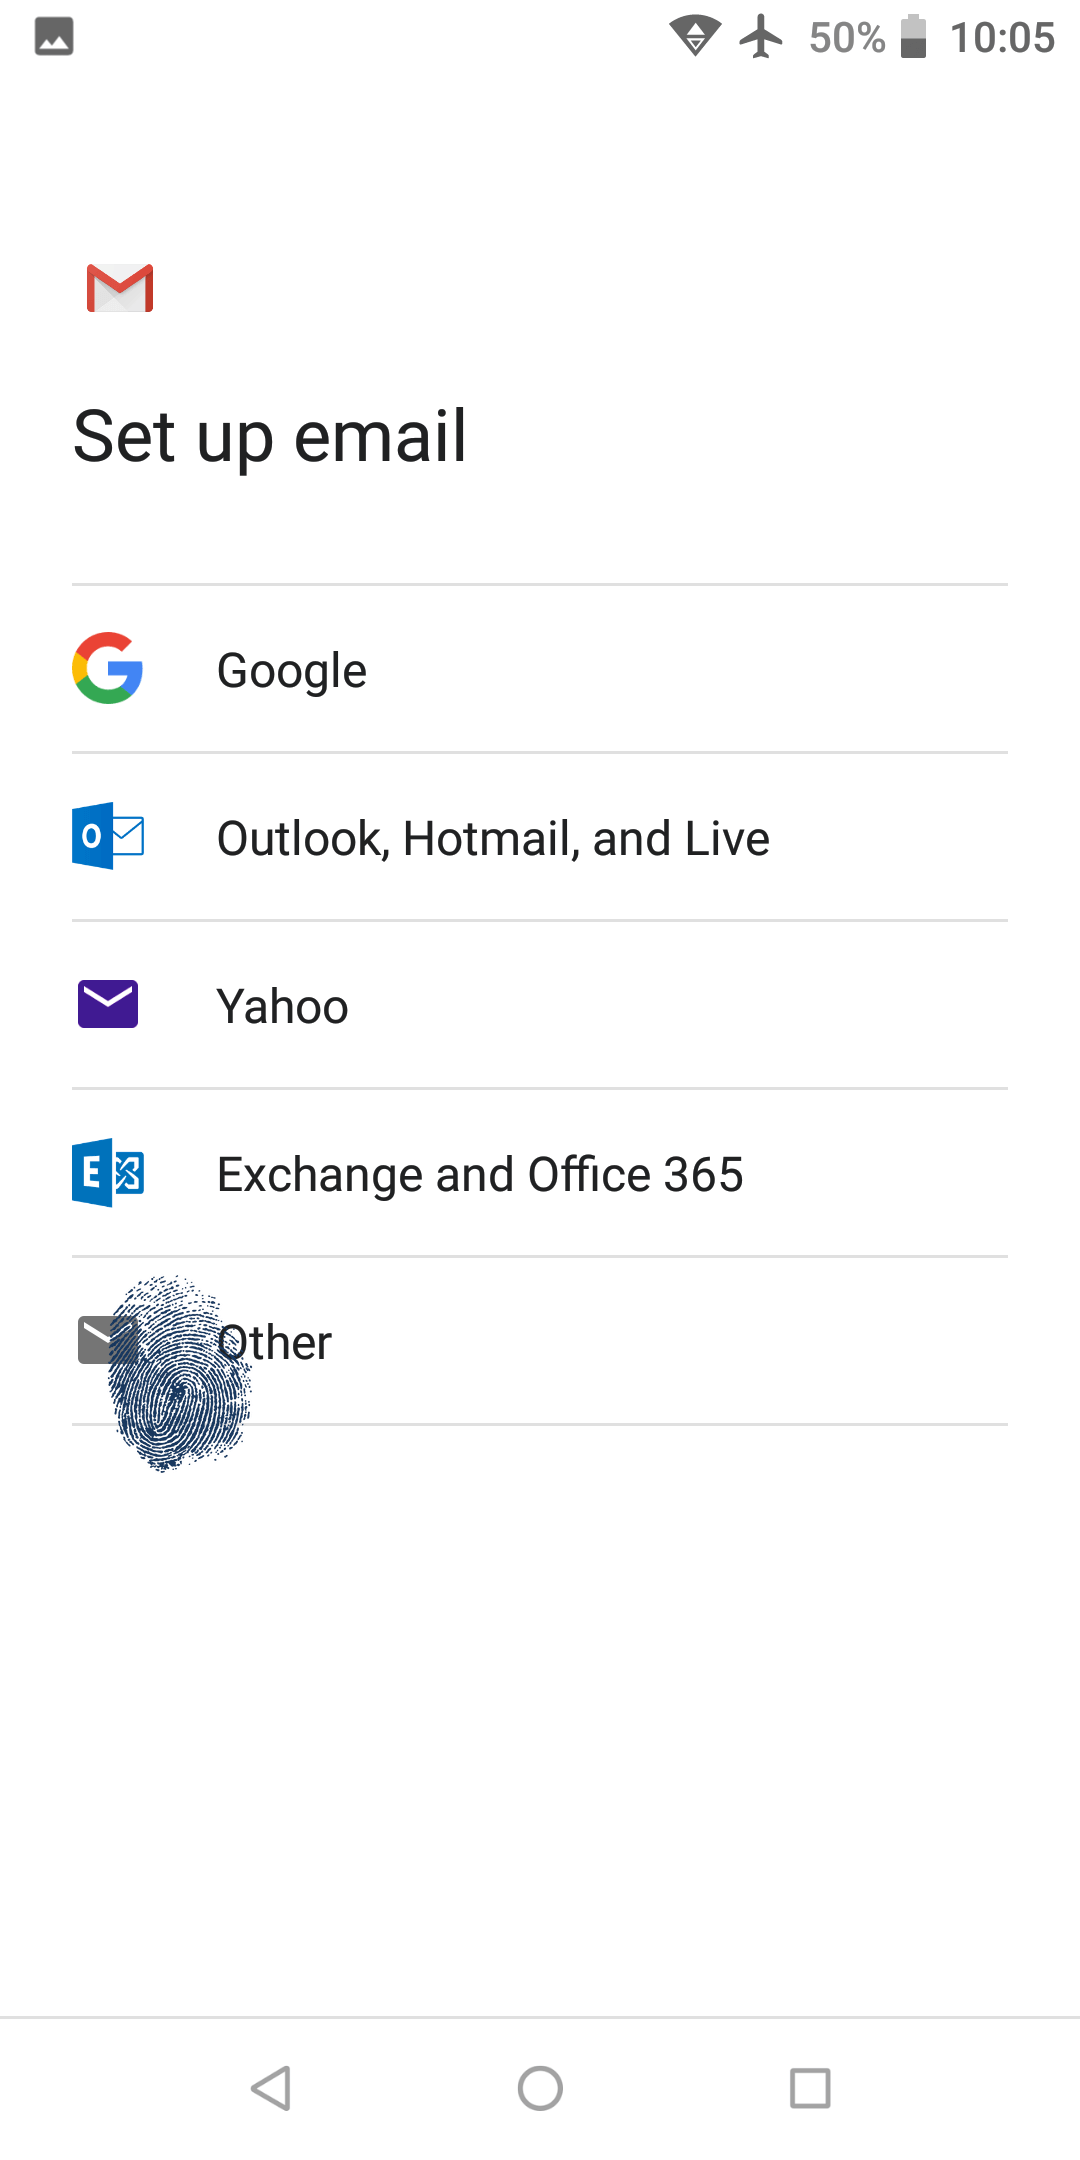
Apparently standard email protocols are considered as Other so please choose that option.
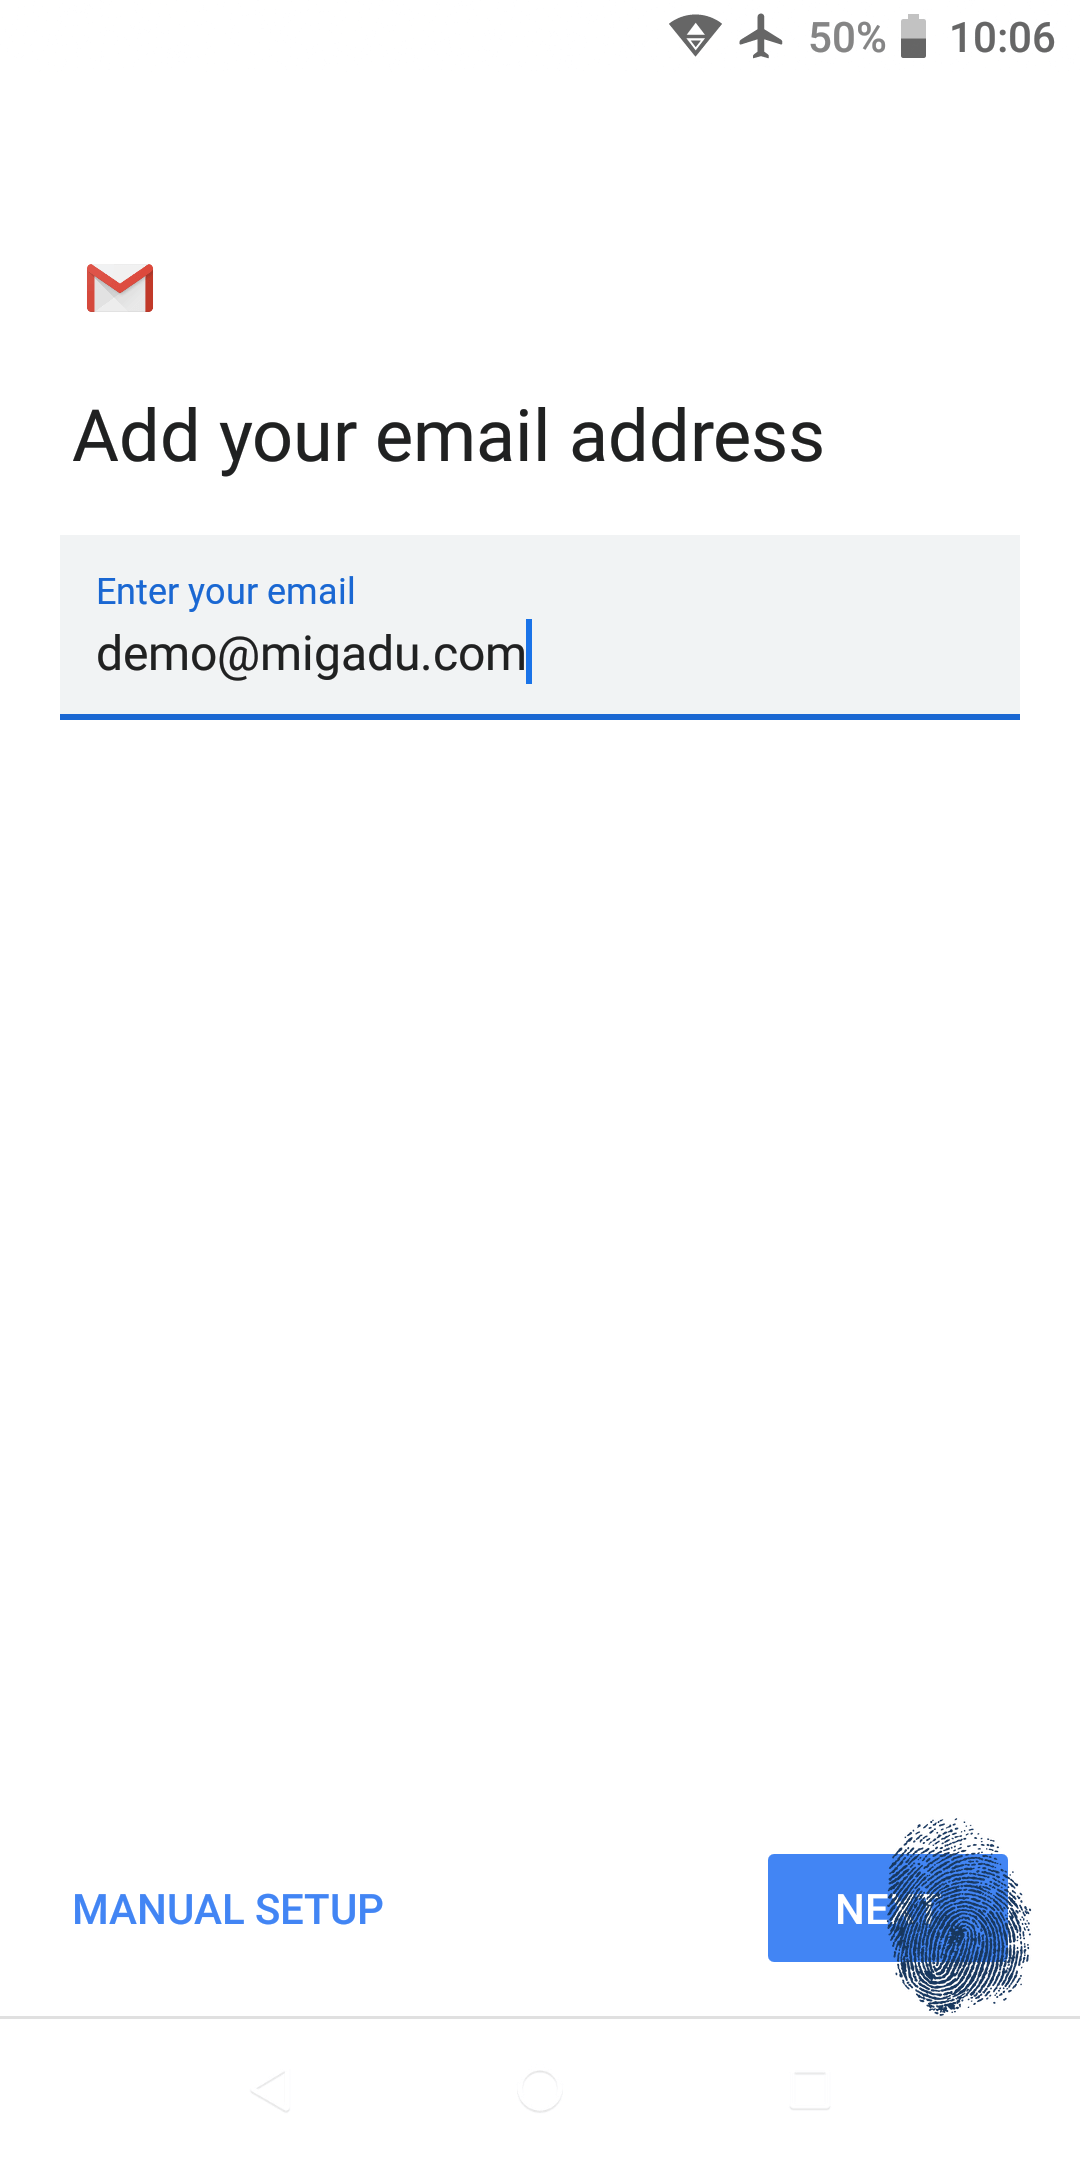
Enter your Migadu hosted mailbox address now and tap Next.
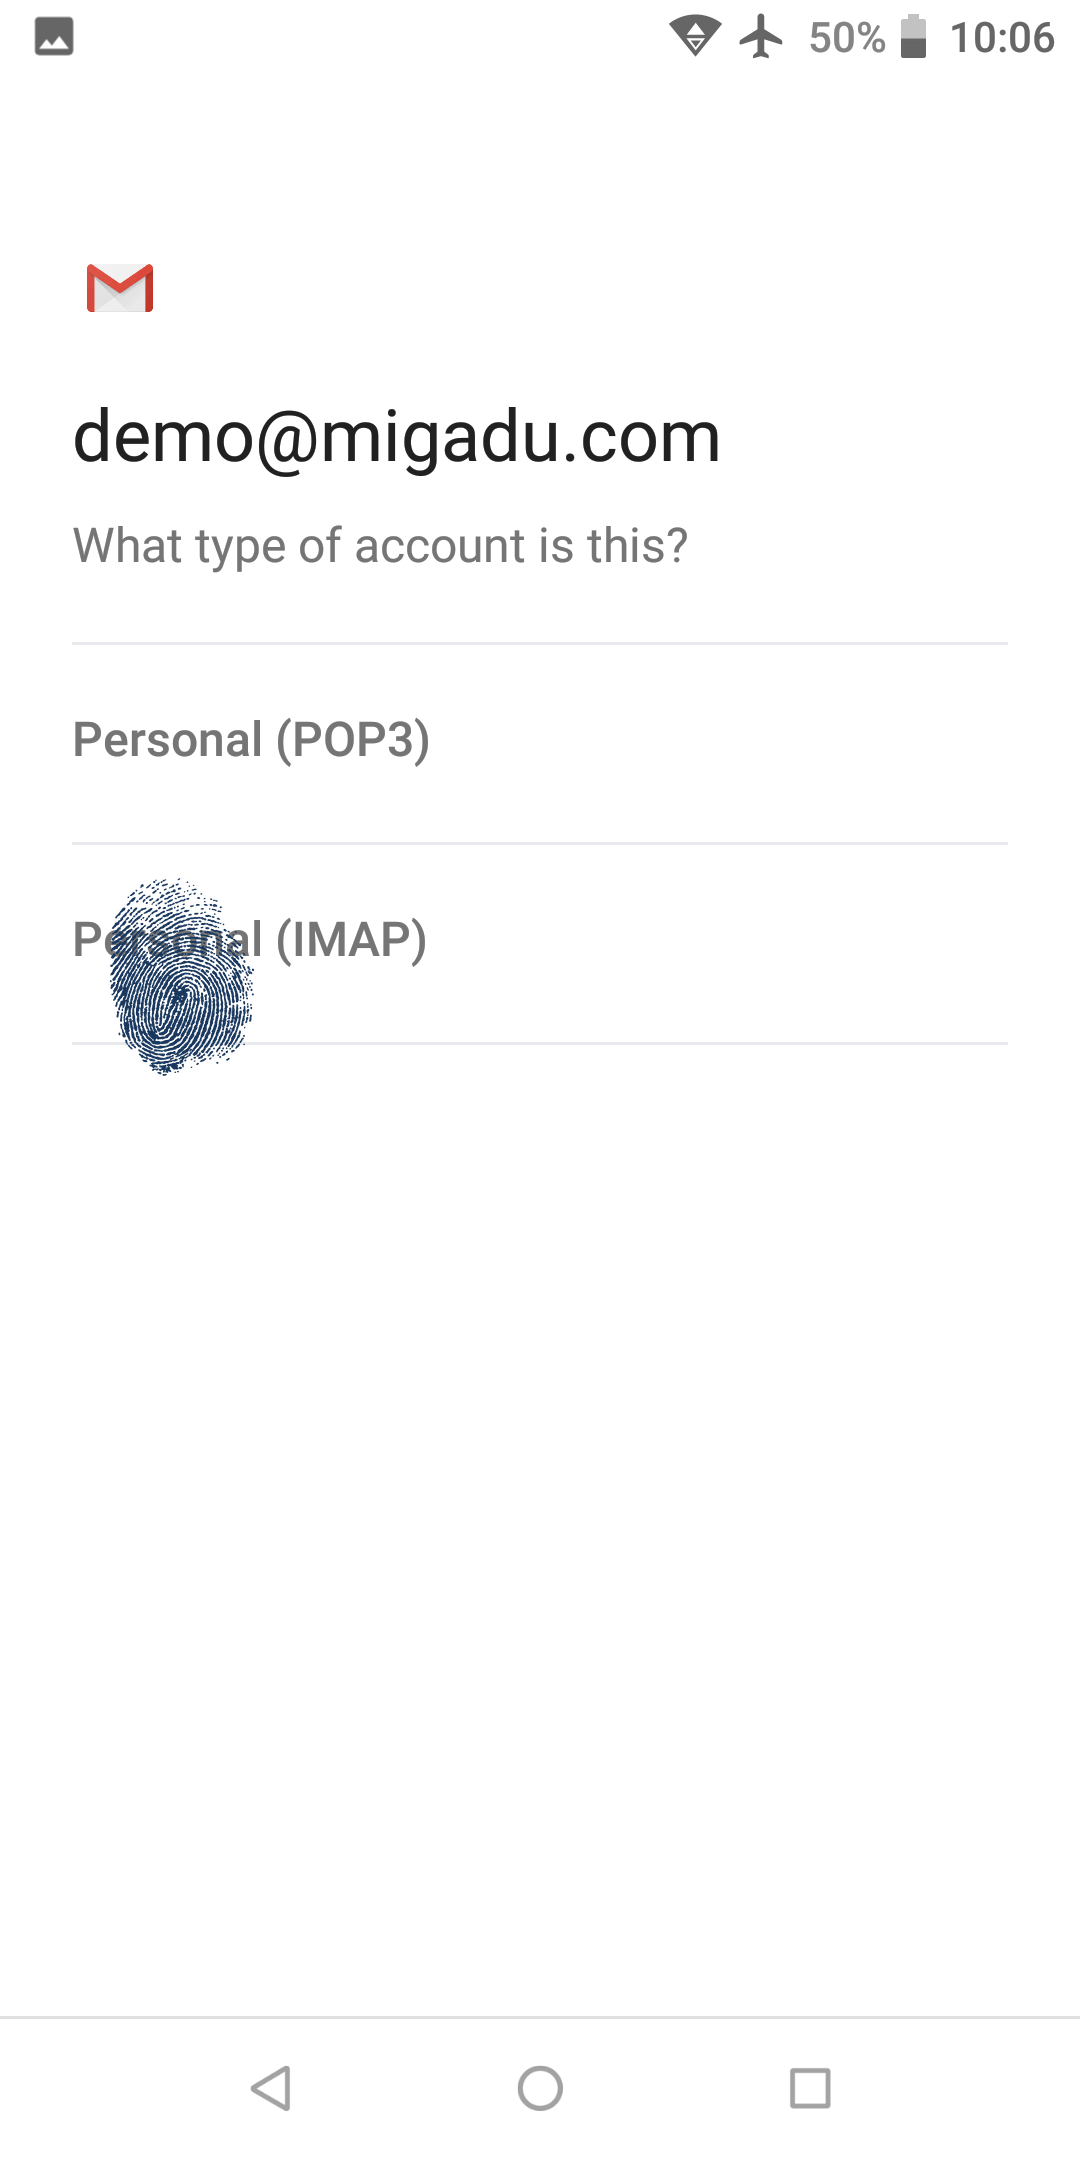
While you can use either POP3 or IMAP protocol, you most likely want to use IMAP which is what we call nowadays email.
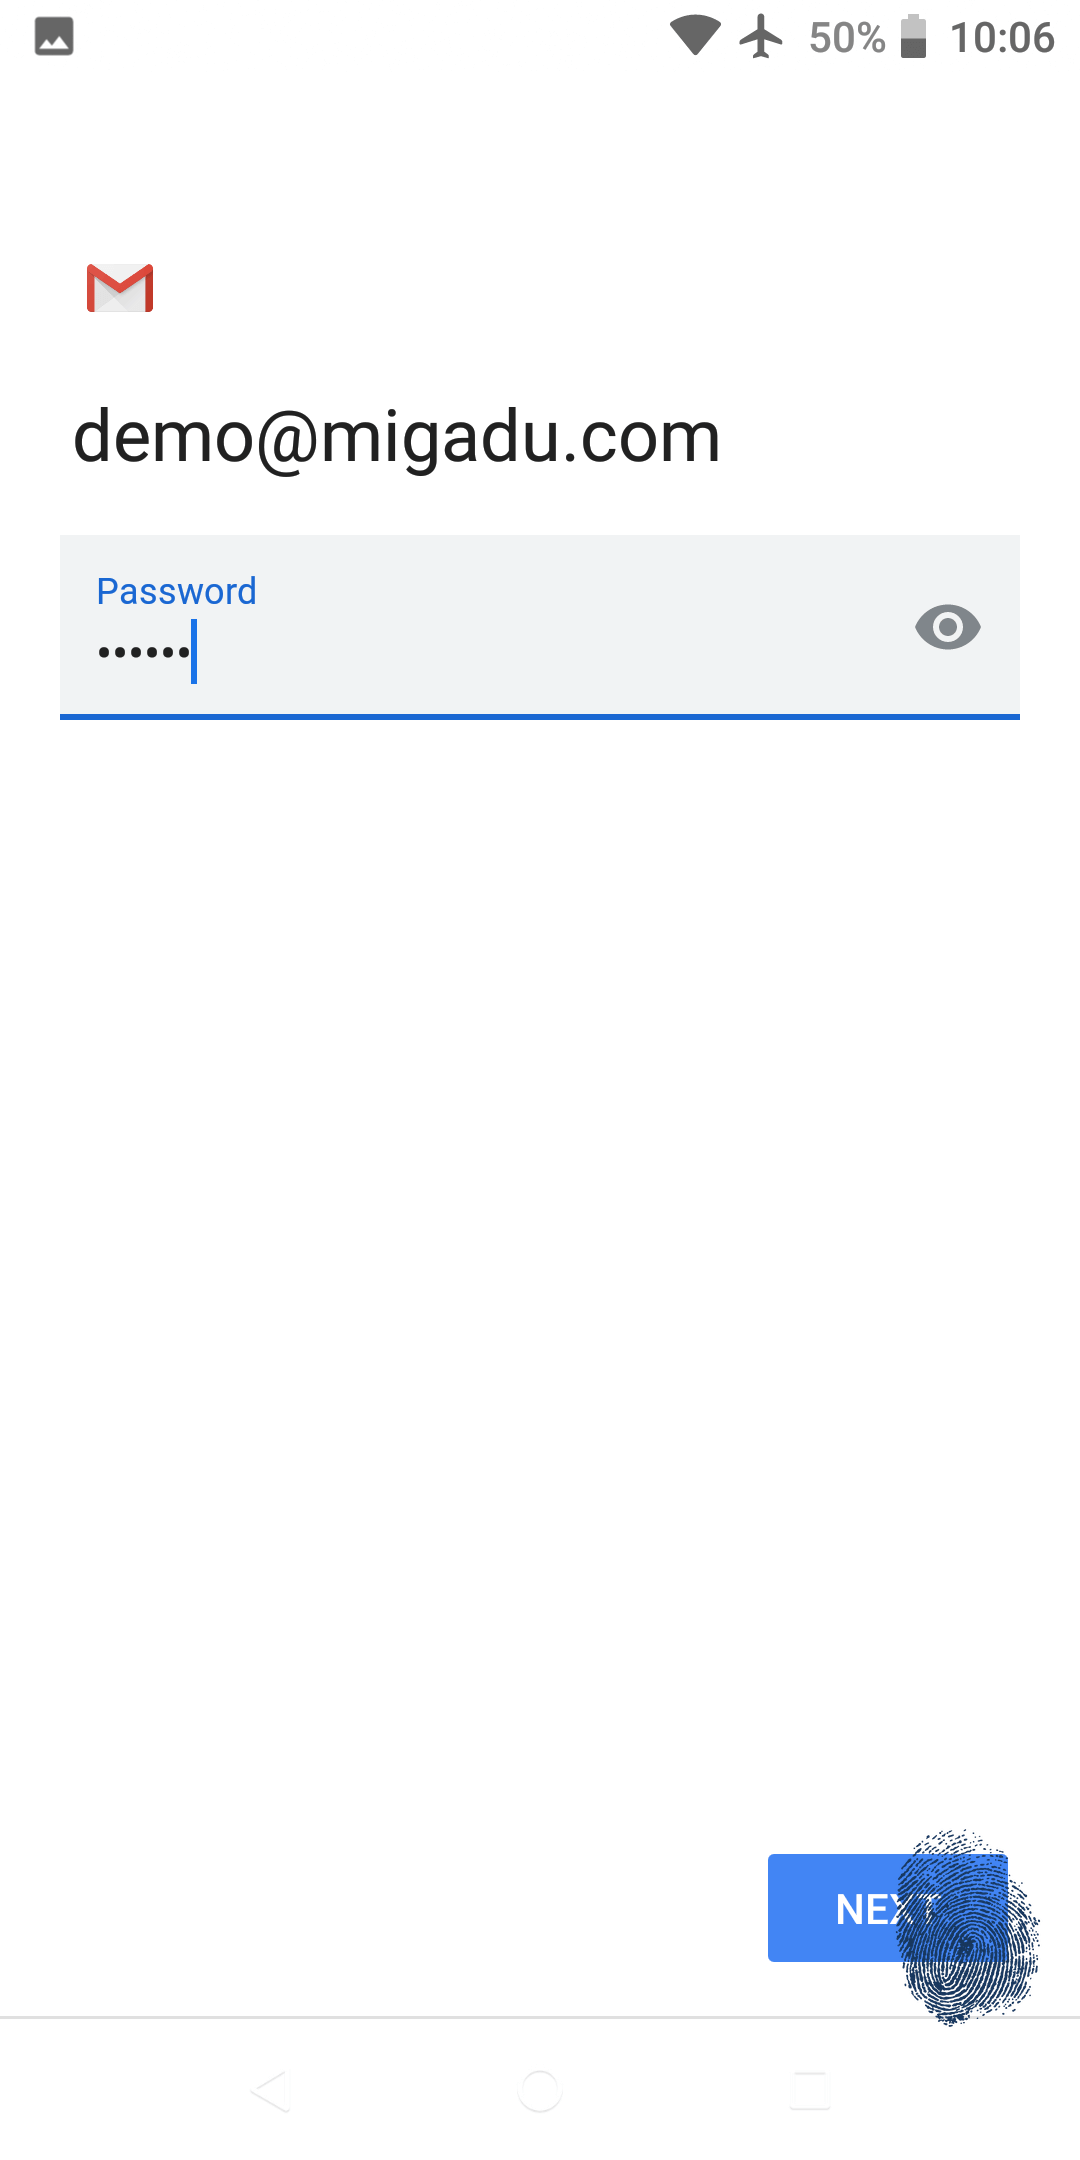
At the password prompt please enter the mailbox password and tap Next. This will lead you to the incoming server settings.
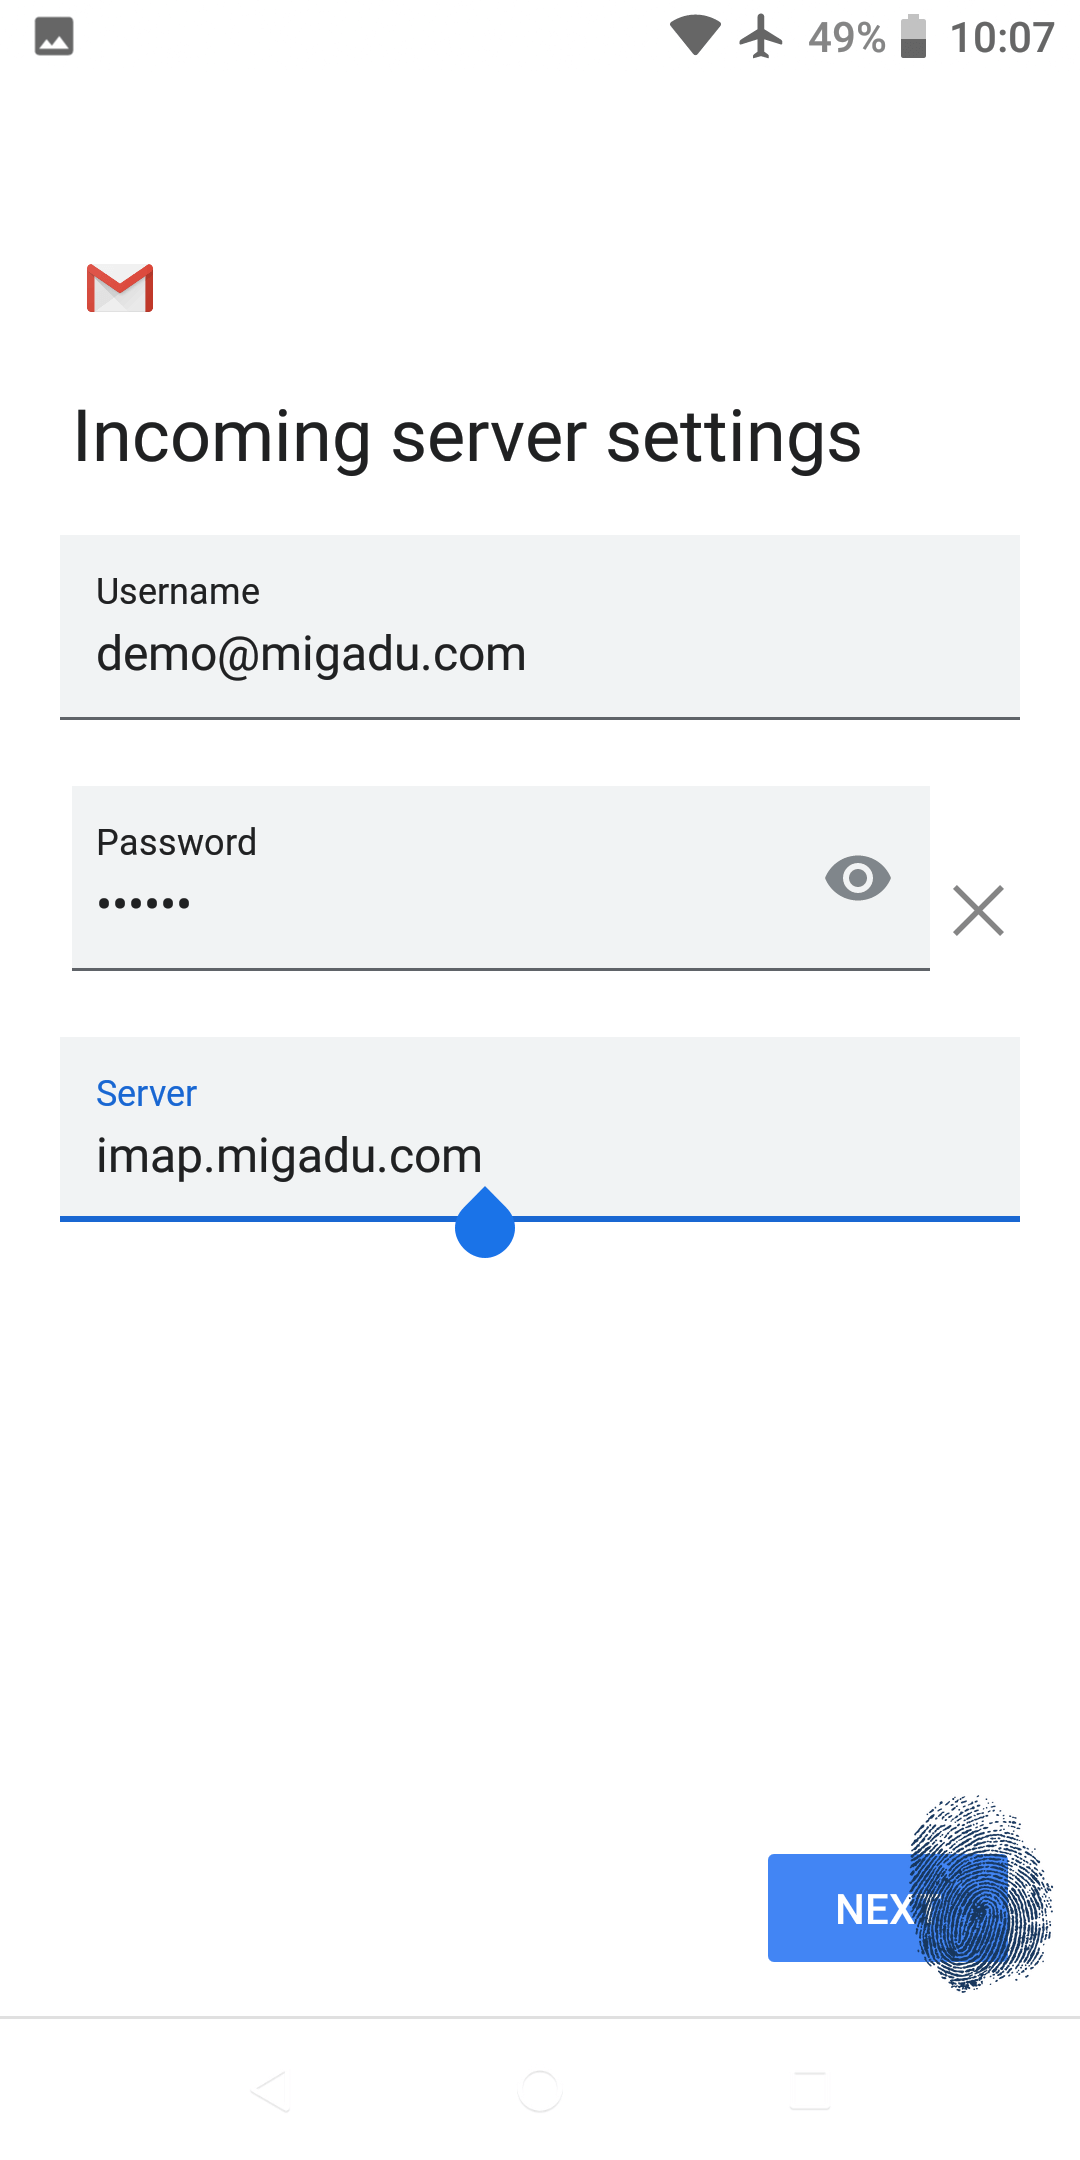
The username (email address) and password should be pre-filled now. You will need to enter the Migadu IMAP server address only. Please use the Migadu IMAP endpoint.
- Incoming server is imap.migadu.com
There is no need to set port as Gmail will figure it out on its own. It’s not magic, just standards.
Tap Next to setup outgoing server for the account.

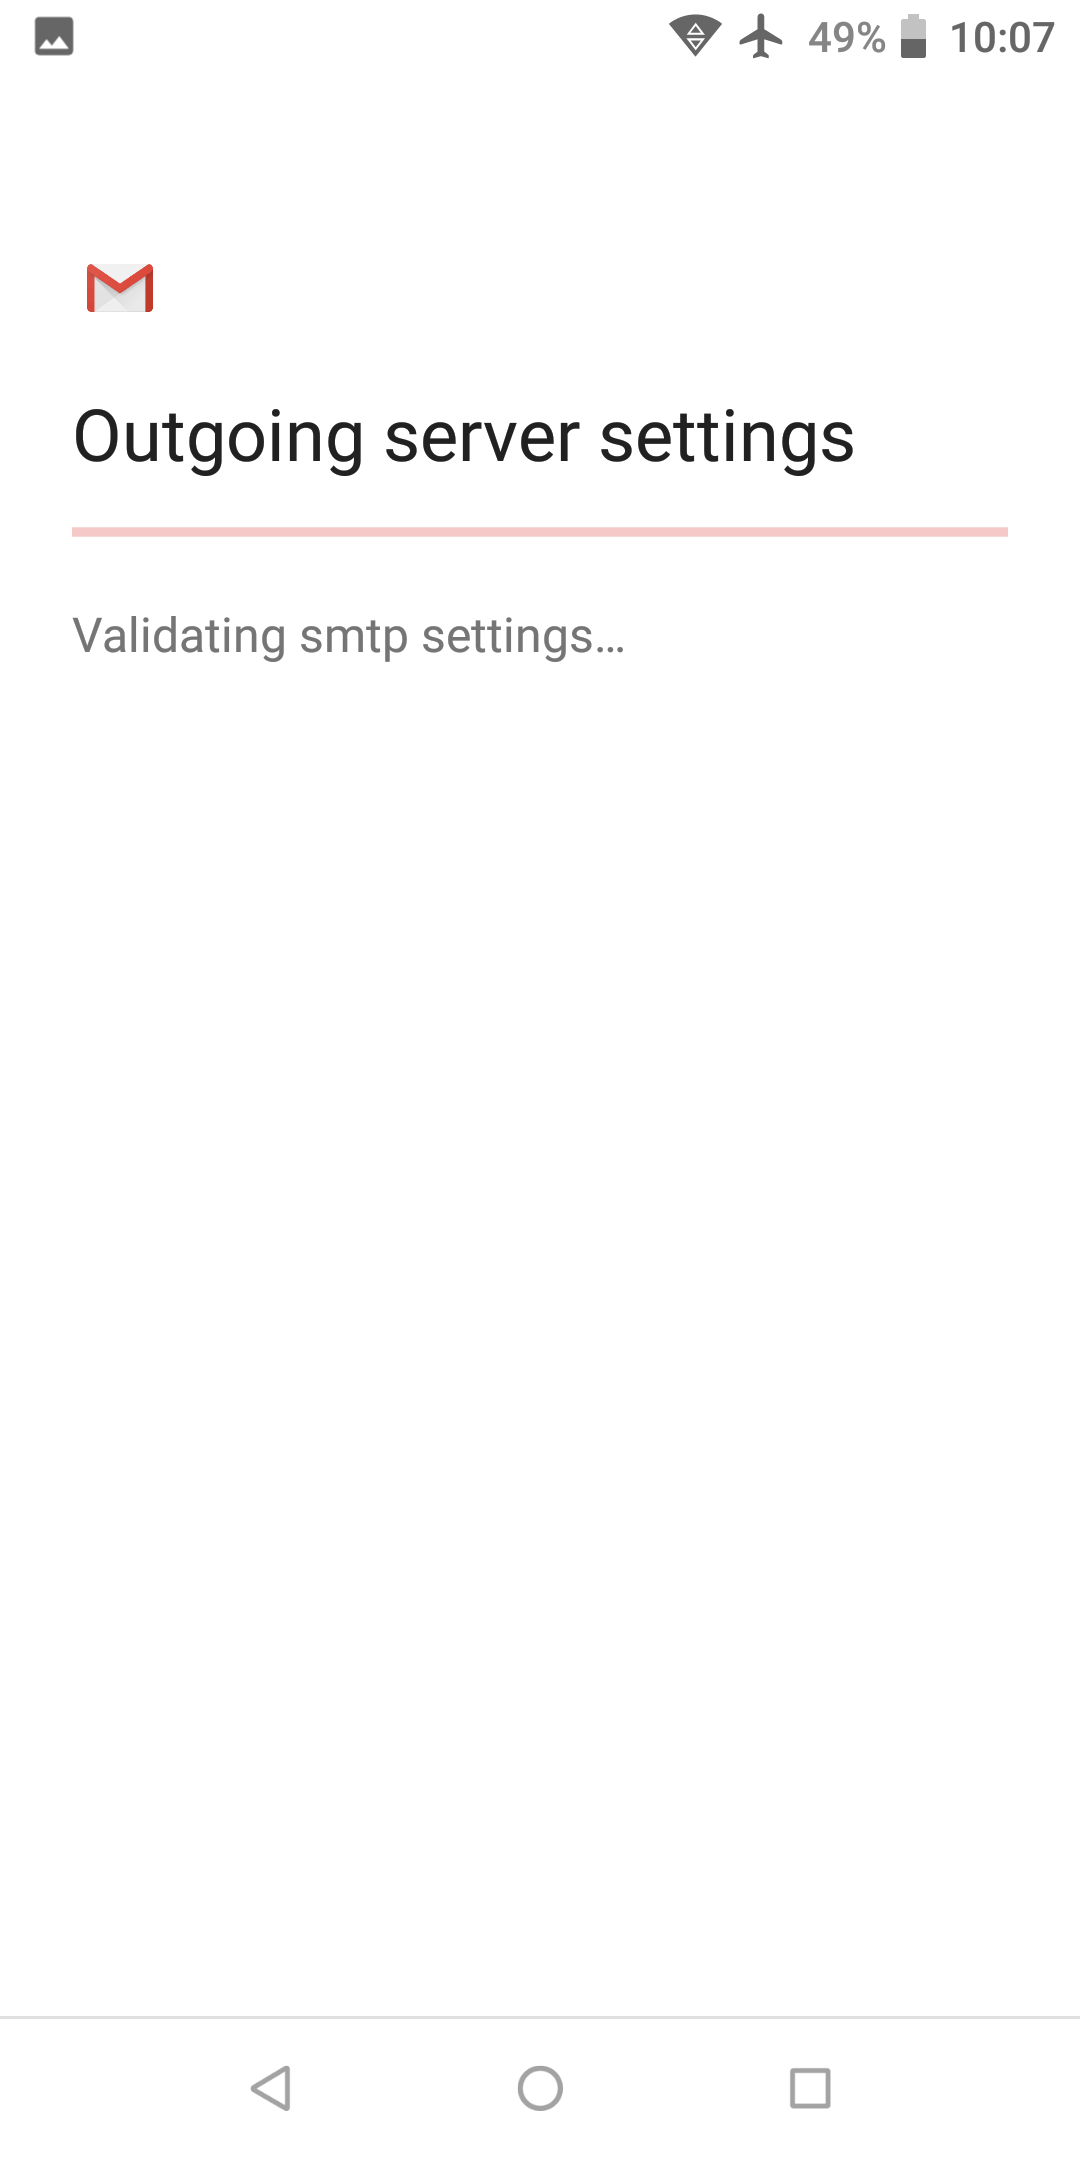
Again, the username (email address) and password should be pre-filled. You will need to enter the Migadu SMTP server address only.
- Outgoing server is smtp.migadu.com
The checkbox Require signin is already checked and it should remain so. Migadu SMTP servers do not allow unauthenticated access.
Tap Next to let Gmail app try the settings.
If the password was correct, you will be taken to the account options screen.
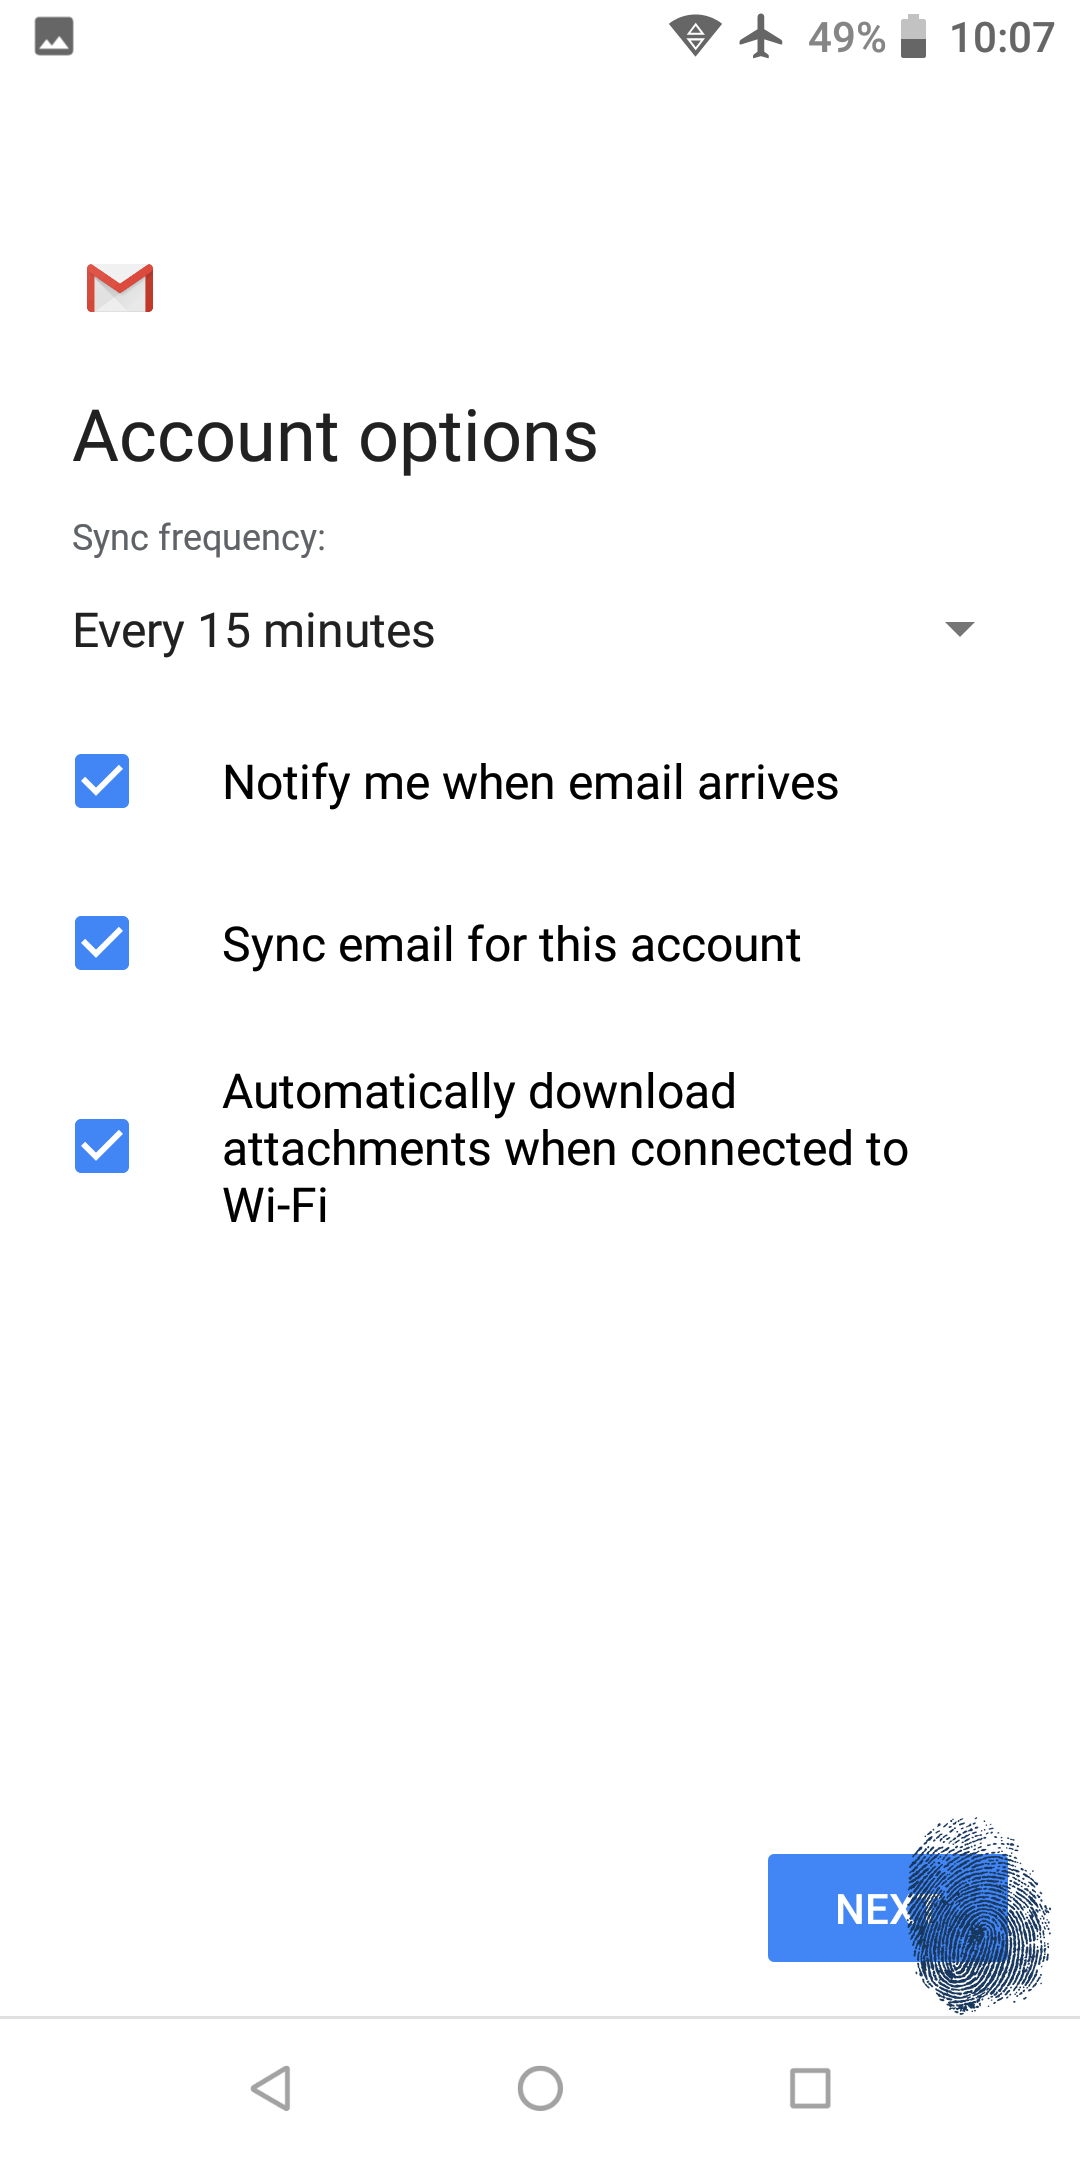
Here be dragons. While Gmail is an IMAP client app, it will not check for new mails continuously. Not only it does not support IMAP Push extensions which are standard nowadays, but the mosts frequent polling interval is 15 minutes. The reasons for this are not known, but probably have something to do with processing your mails on Google’s side .
Once you’ve made peace with yourself that you have nothing to hide from the global advertisers, tap on Next.
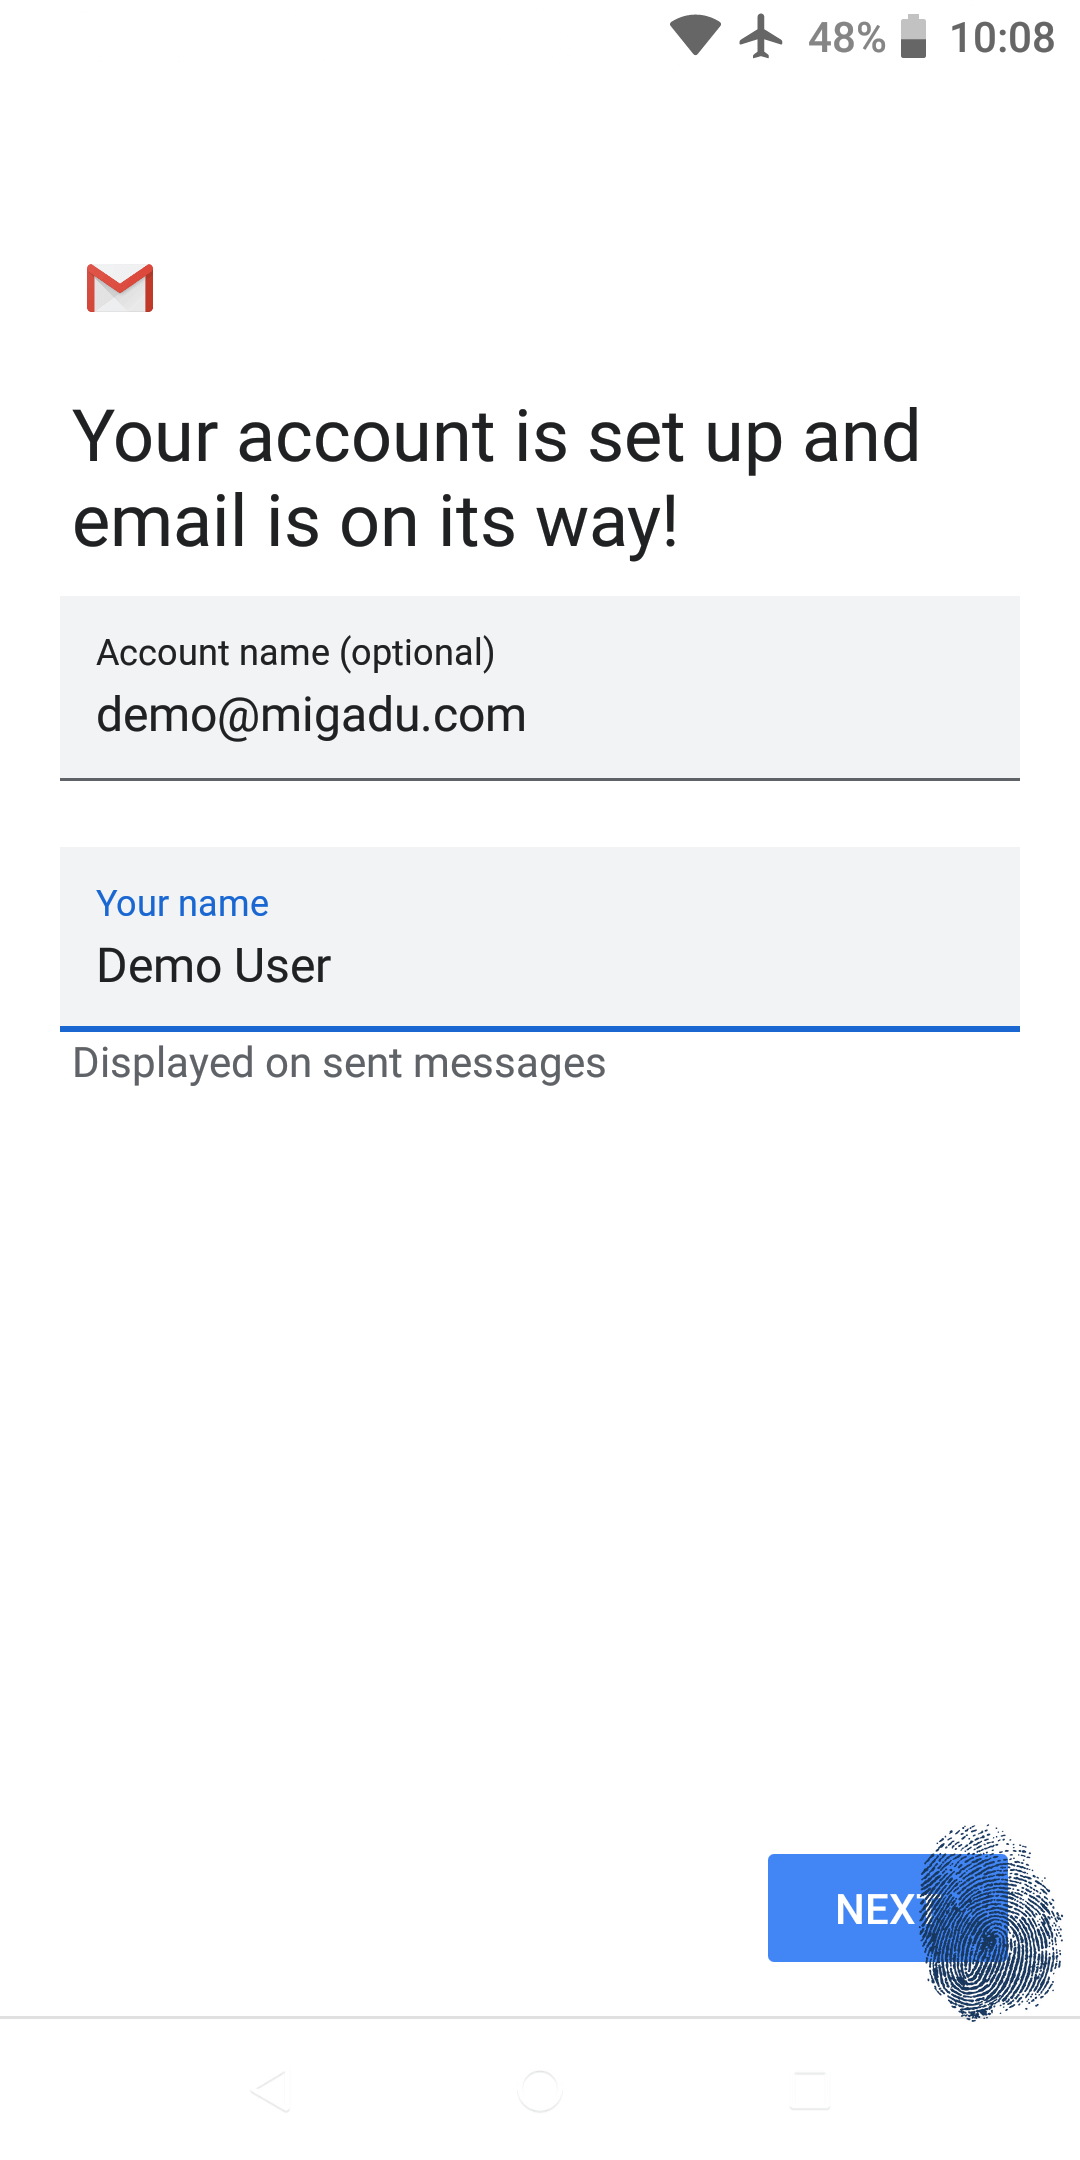
You can now name the account for its appearance in the Gmail app. The second field Your name is what will be seen by recipients of the messages you send, right next to your email address.
Tap Next and the wizard will terminate, taking you back to the Gmail accounts screen.
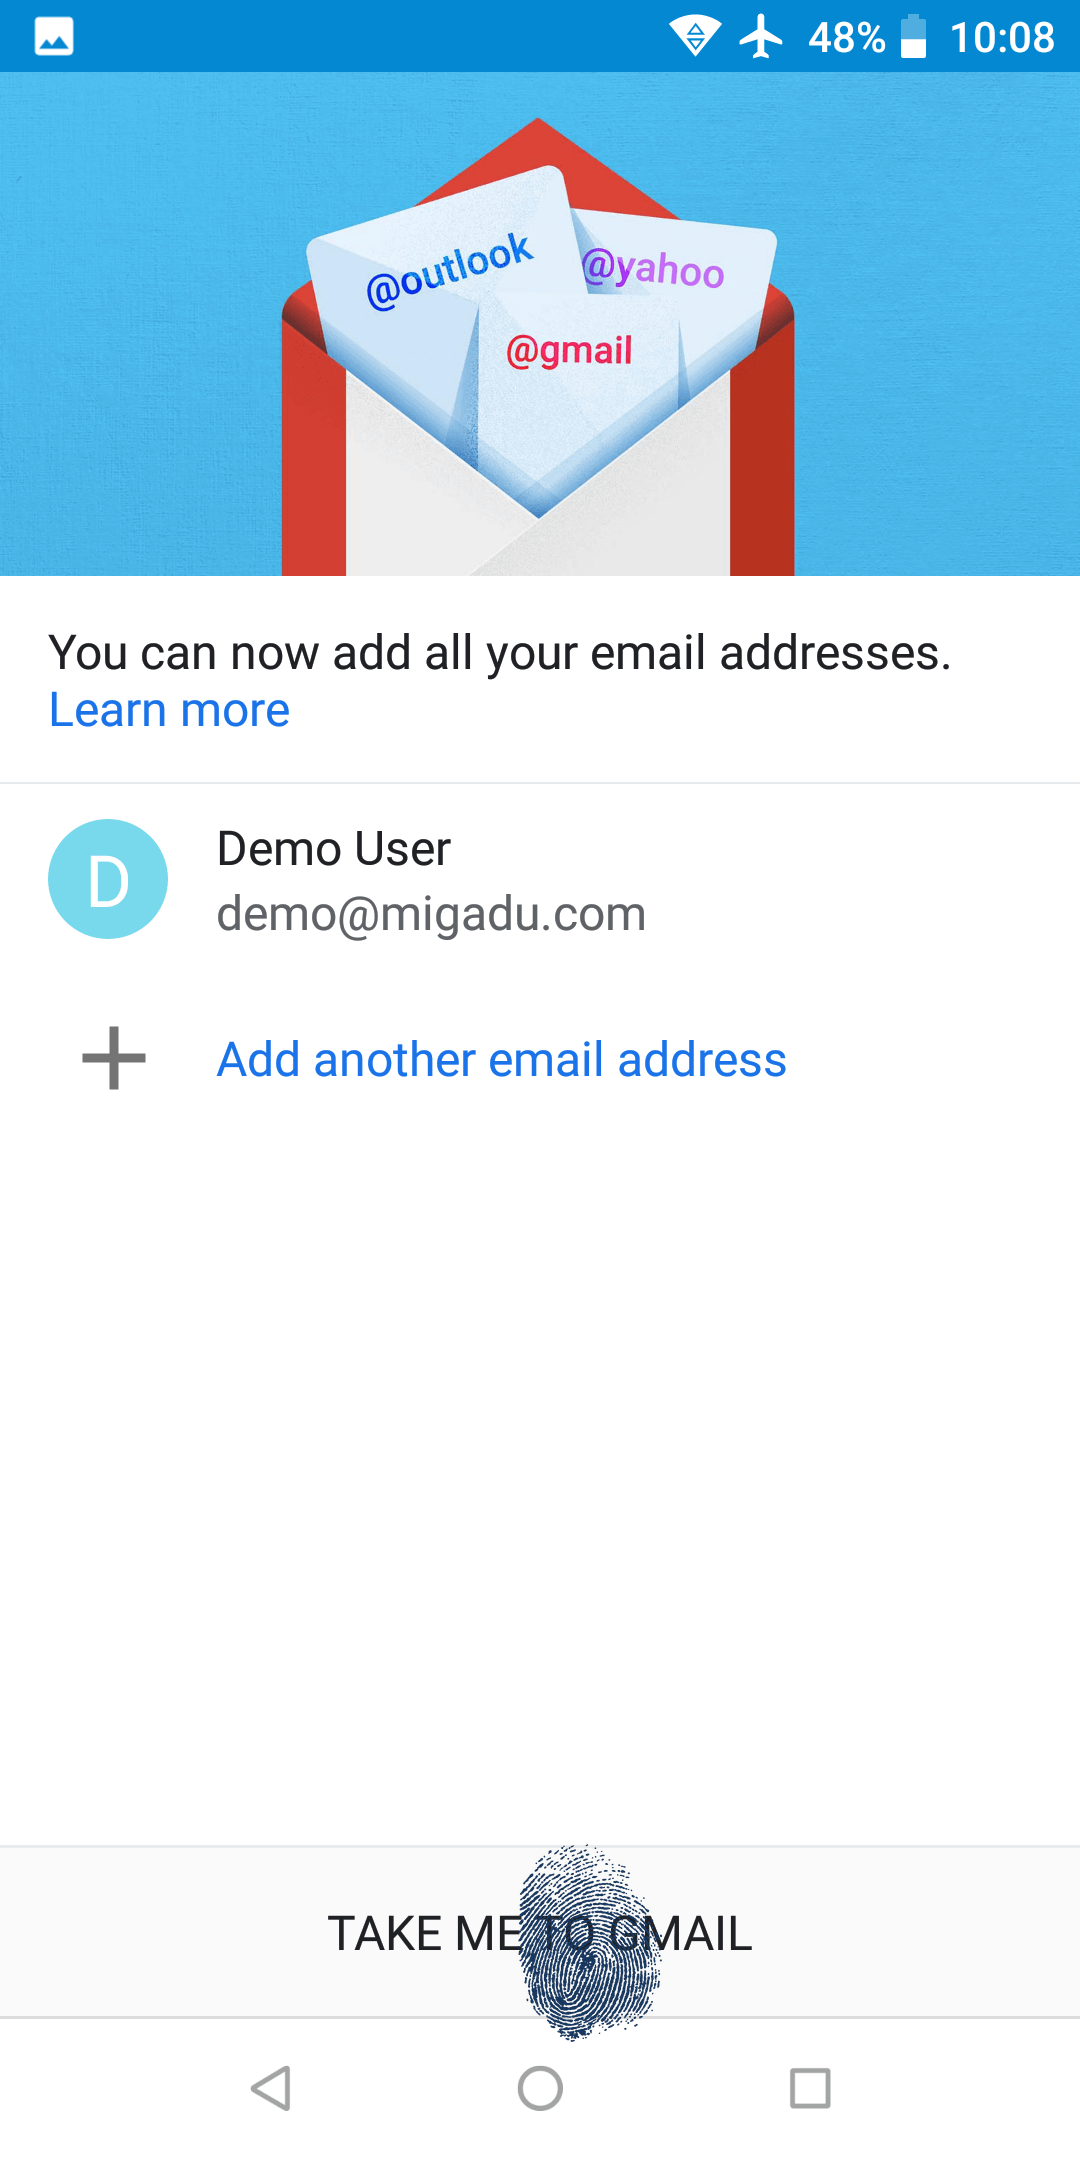
If you have no other accounts to add, just tap on Take me to Gmail, and you are ready to use your account.